Mistakes beginners make #3: Over-editing images
18
FEBRUARY, 2017
This email is the second in the series of the top #3 mistakes that beginner food photographers make (if you missed the first two, you can read them here and here).
Though these are mistakes “beginner” food photographers commonly make, what I’m sharing with you today is something which I am a little embarrassed to share that I did myself until quite recently! *hangs head in shame*
While it takes time to learn how to style and compose your shots, how to use your camera and how to understand light and angles, it also takes time to not just learn the tools of Lightroom (or whatever photo editing software you use) but to understand how best to use them to get the look you desire.
Have you ever tried to overcompensate when trying to fix white balance and ended up with an image with ridiculously bright whites and all other colours distorted?
Or perhaps you’ve tried to sharpen a slightly blurry image, only to have it look all pixelated and grainy? Eeep!
I fell victims to all of these when I first started out. Super confused by layers and adjustment brushes in Lightroom and Photoshop, I instead opted to use a free online program – which was pretty good considering it was free! – but of course was not as powerful, so I would try to fix my off-colour whites by brightening them drastically – which never worked! You can see an example below on the left (and just so you know I didn’t deliberately edit the photo ‘badly’, you can see all the awful images from that blog post here if you so desire *ducks head and blushes* Not some of my finest work… but I promise the recipe is nice!! 😉
To show you how this could look better, I’ve quickly applied a few edits in Lightroom just now (decreased highlights, increased whites and exposure (using radial filter) and used the split-toning tool to balance out the colours a bit better – note I shot this as a JPEG so I was a little limited in how much I could amend without totally blowing out the light or colours – you can read more about shooting in JPEG vs shooting in raw here).
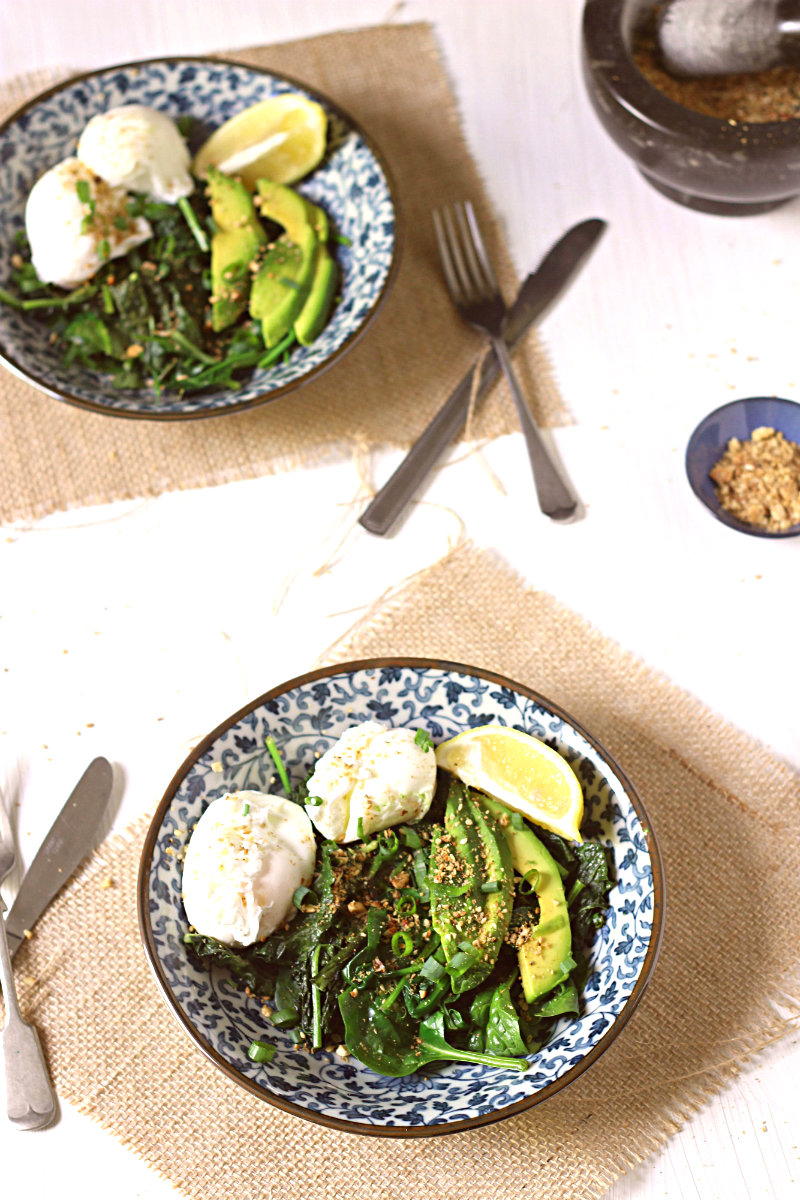
Original image, before I learnt how to edit properly!
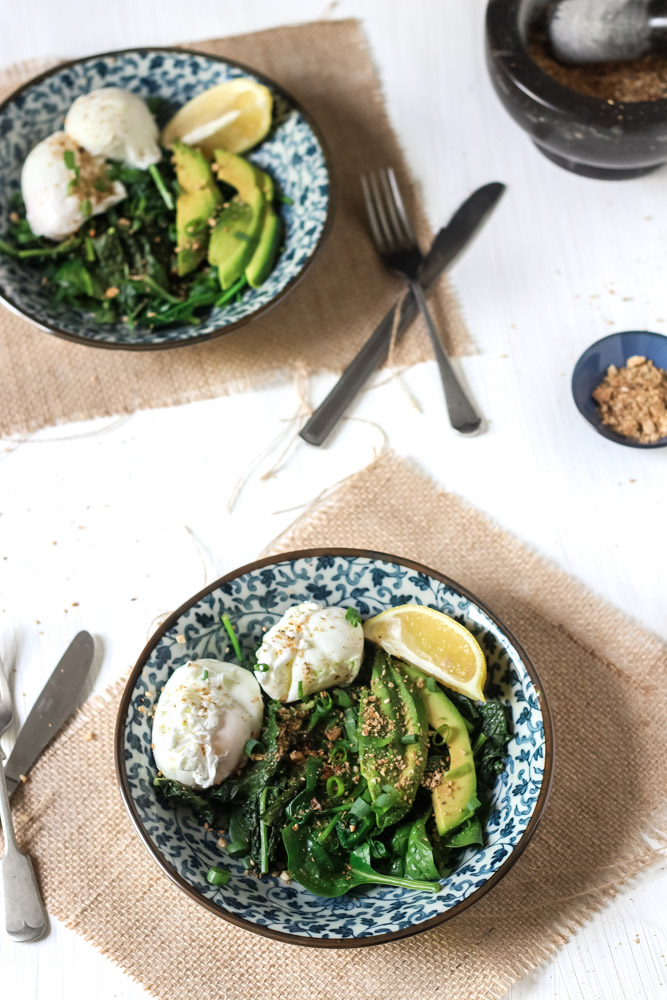
Quick edit of the same image in Lightroom
So how to get around this? Firstly, it’s important to try and get the image looking as good as you can in the first place. Use the time of day and light/shadow boards to get your lighting right. Learn how to shoot in manual so that you can get the right depth of field and exposure, and to also help in getting a crisp, clear image. That way, your image will be 90% done before you even get to post-processing, and then all you will need to do when editing is increase a few of the details in the image – usually things like slightly upping the contrast, sharpness/clarity, and perhaps touching up the colours a little.
The images below show a recent original shot (left) that I was quite happy with; it only require a few tweaks in Lightroom (slight cropping, increased contrast, minimal vignetting and slight colour adjustments) to complete the look I was going for.
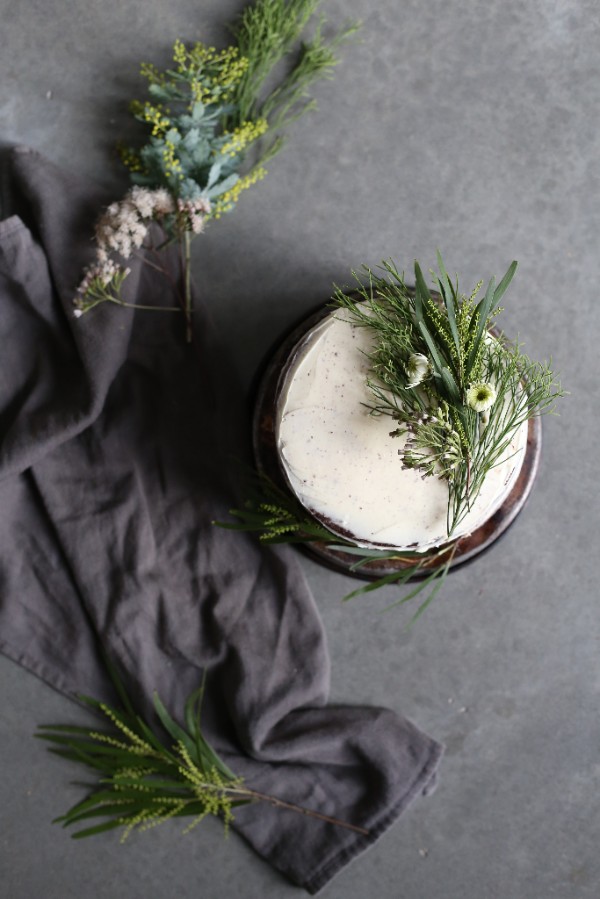
Original image, before any edits
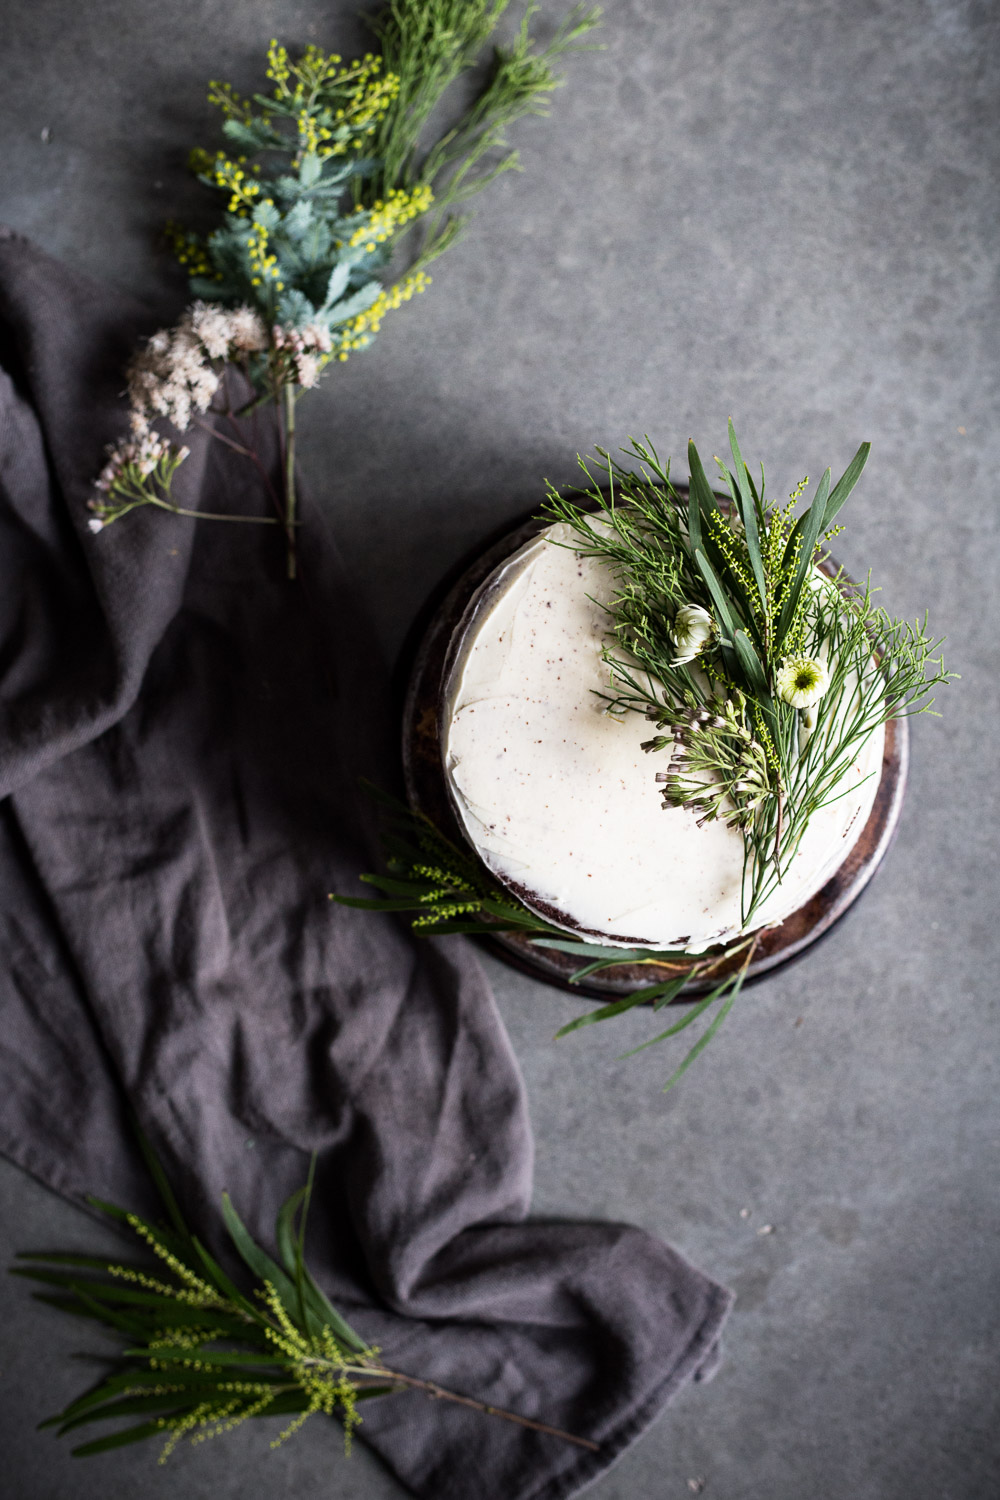
Final version
Secondly, learn how to use your editing software properly. Now, I’m not going to skirt around the fact that I’m selling something here – because we all know I am! – but regardless if you purchase my Lightroom Editing guides or go about it some other way, learning how the software works and how best to use it to get your desired look really does make a difference.
For instance, when I was an editing rookie, I had no idea that it was possible to alter the hue and saturation of not just individual colours but also individual tones in Lightroom. I also didn’t realise that fixing white balance was waaaaay easier if you shoot in RAW, something we have talked about previously (you can re-read it here if you missed it). Now that I know these things, I am able to fix the colour balance in a few seconds, whereas I’m embarrassed to admit that I sometimes used to spend hours trying to get the colours and tones in my images to look right – and even then they used to look pretty awful by the time I was done with them. So not only do my images look better now – I’m saving myself a whole heap of time, hurrah!
And one final thing – be very careful with filters! Some (eg the VSCO package) can be a good starting point for getting a certain “look” to an image, but they can also quite quickly ruin the look of an image if an incorrect one is used. Simple, manual edits are usually the best way to go 🙂
Sign up to for exclusive content and special offers
How pretty and useful, thank you so much, Dearna!
Thank you so much Natalia x
Sadly, my camera does not have the option of shooting in RAW, only JPEG… I also don’t use Lightroom, I use GIMP, but I’ve been told it’s not all that different, though Lightroom is better. The RAW thing, though, arghhh, I could see the difference in your photos and dayum, wish my camera had that possibility, so much better!
https://bloglairdutemps.blogspot.pt/
Thanks Ruth – shooting in RAW really does make such a difference if you have the option! – D x