My food photography journey
25
MARCH, 2018
Hot on the heals of launching my brand new Food Styling + Photography Masterclass, I thought I would share with you the long journey that my food photography and styling has taken since I first picked up a DSLR in 2013.
I feel a little guilty when people comment on my images that they like my photography but “I couldn’t never take photos like you!”
Because it’s so not true!
Or when I hear “you must have an eye for food photography!” Maybe, but it definitely hasn’t always been that way for me!
So today I thought I would share my journey with you – where I’ve come from, what I’ve learnt, and what it took me to get where I am today.
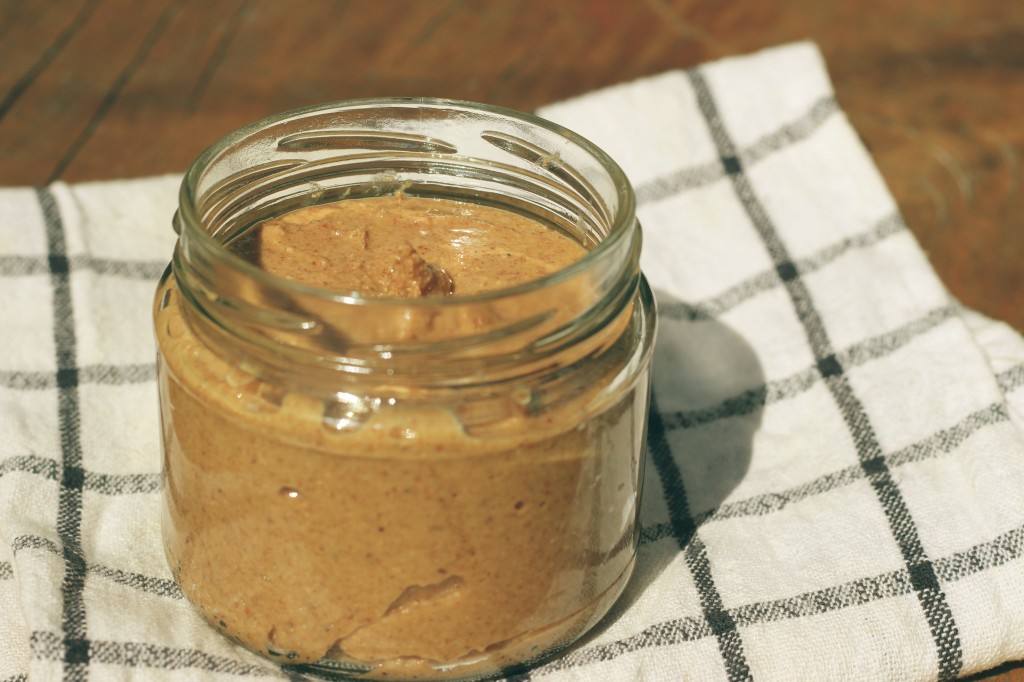
My first ever blog post! The light in our house was fairly dark and I had no idea how to use that to my advantage (these days I desperately miss that lighting!!) so I took my food outside to photograph it in the bright sunshine – ouch!
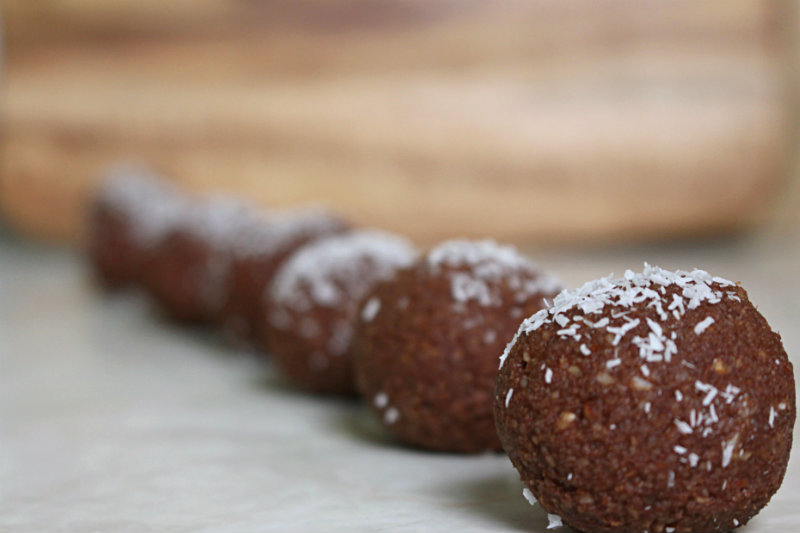
I was so excited when I took this shot! I mean, would you look at that depth of field!? 😉 That was of course until someone commented on my post that they looked like balls of dog poo rolled in coconut. *dreamshattered*
It all started when I started my food blog back in 2013. I knew nothing about photography, but obviously had to take photos of the images I would be posting to my blog. There were a few tips of some of the blogs I already read advising to get a DSLR camera and a 50mm lens, so I went out and did just that.. but I had no idea how to use it.
For the first six months at least I shot entirely in automatic mode. This meant I had no control over the lighting, the focus, the depth of field… it was basically the equivalent of using a point-and-shoot camera, albeit a very expensive one!
Naively, I thought that shooting with a DSLR would automatically allow me to take great photos, but clearly I was wrong. This lead to hours upon hours of YouTubing, Googling and reading blogs and forums to work out how to use my camera. I’m a little embarrassed to admit that I spent literally hours every week trying to find the right information, only to get more and more confused!
By late 2014 my photography was definitely improving but I still had a long way to go to get to where I wanted to be. My white balance and lighting was all over the place, and my styling needed a lot of work!
At the end of 2014, I found an online food photography course which was starting early the following year. I bit the bullet and joined up – and this is where I really started to see a change.
The instructions were clear and we were able to ask questions in an online forum, and I was finally able to understand how to properly use my camera. But this point, I had been shooting in manual nearly a year, and thought I understood the manual settings pretty well, but after doing the course I started to really understand how to balance light, and I was finally able to work with dark light, which was were my obsession with dark and moody photography started!
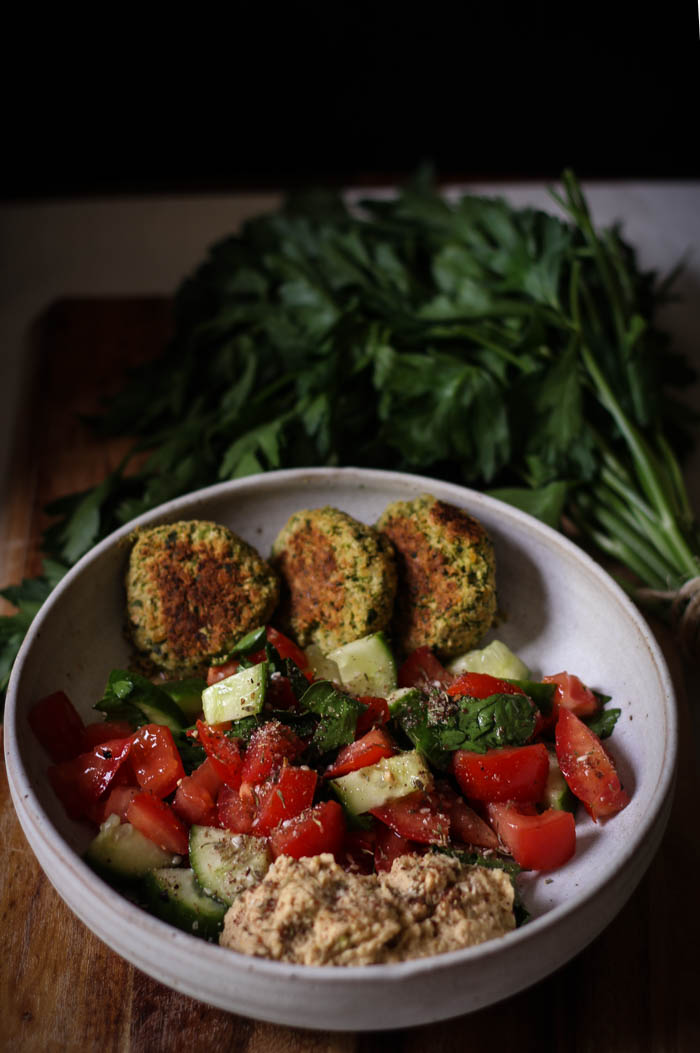
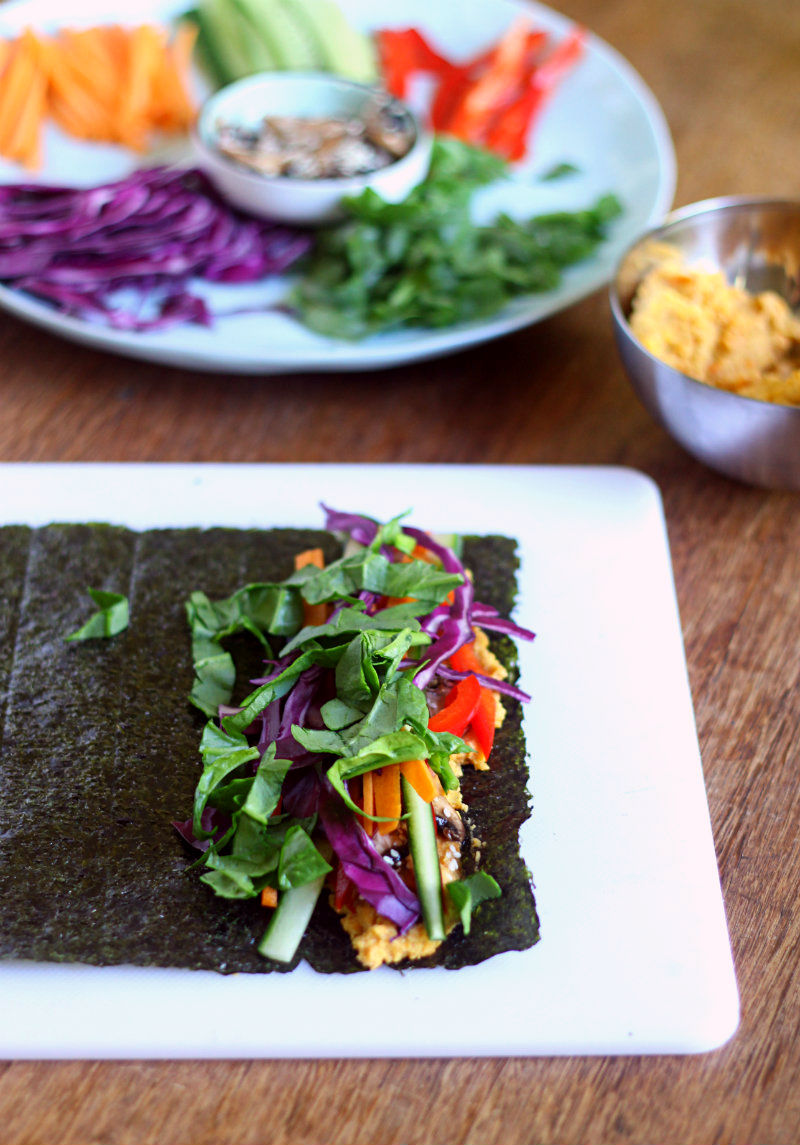
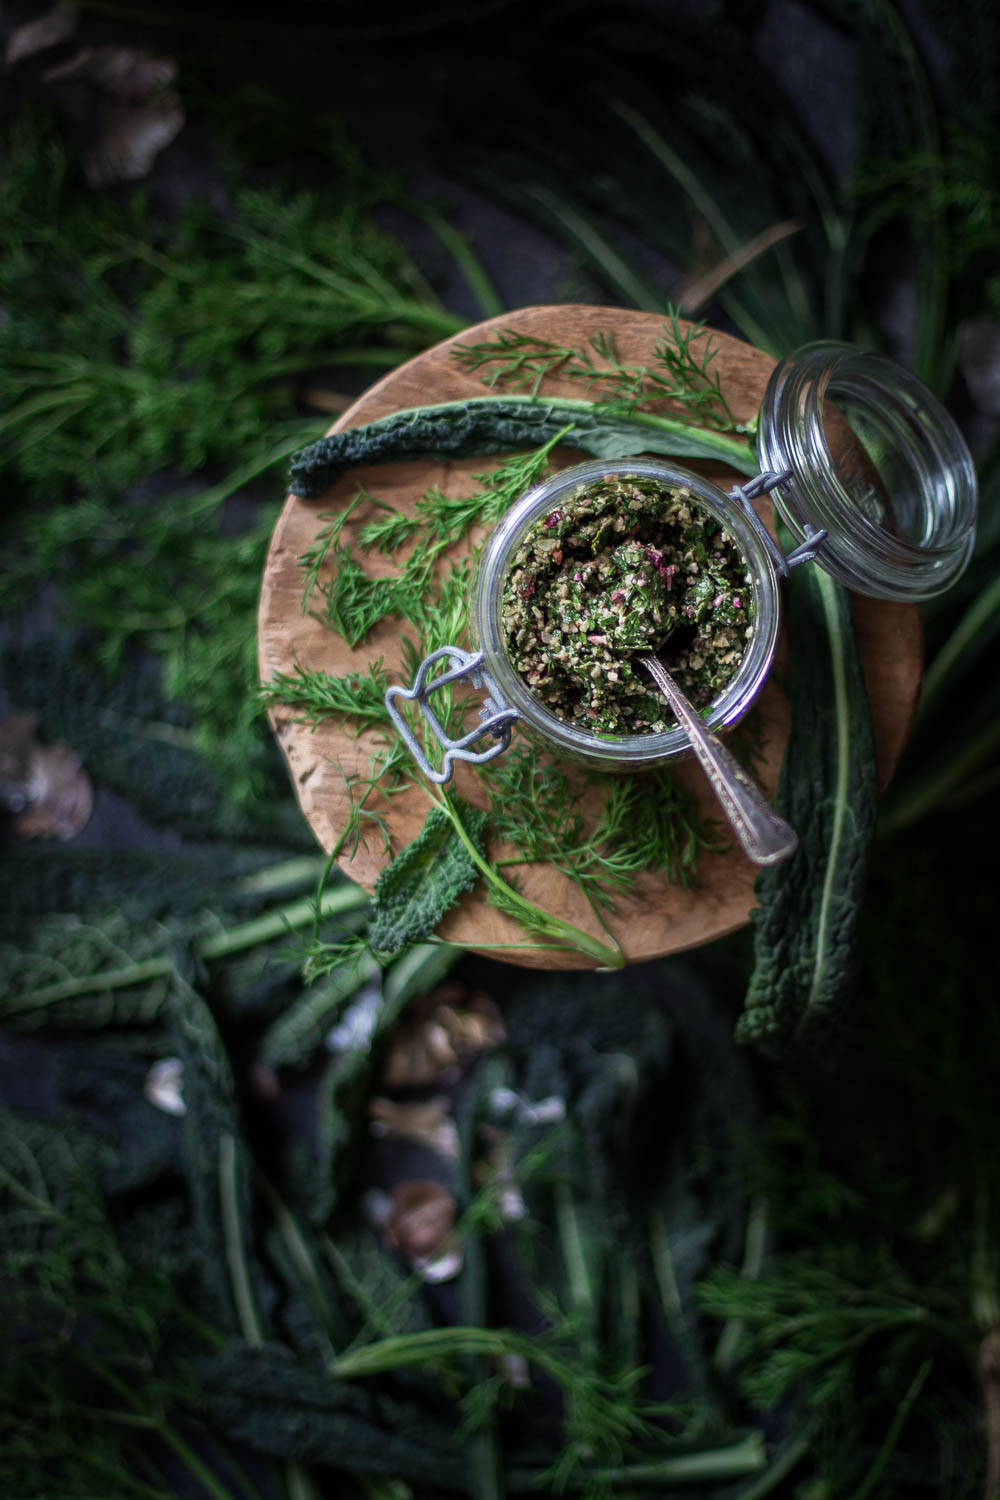
Some of my first shots after taking an online food photography course and learning how to properly use my camera in manual. Hello darker, moodier shots!
By mid-2015 I felt like I was really making progress. I was getting really confident with shooting in camera, and I was understanding light more and how it impacted my photography.
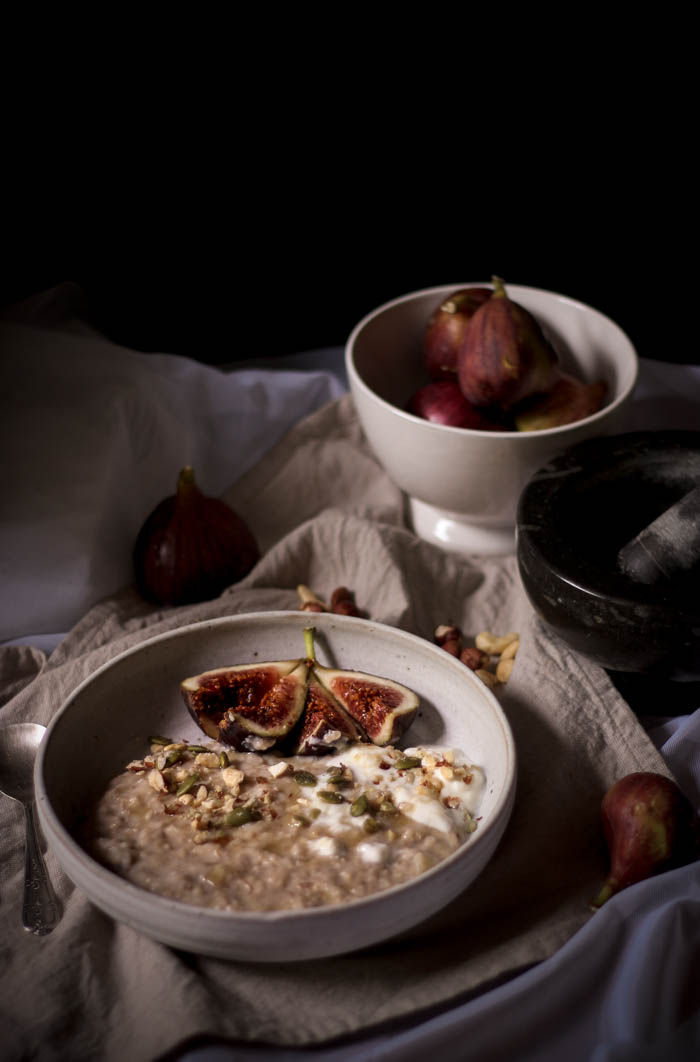
But in late-2015 we renovated our house, knocked out a few walls, and added a few more windows. That is, we let in a lot more LIGHT. And it really threw me. I had gotten myself into a comfortable bubble where I knew if I shot in a certain spot in my house, in a certain style, I would get a certain outcome, but a change to my environment meant I had to re-learn how to interpret light, and the drastic effect it could have on my photography.
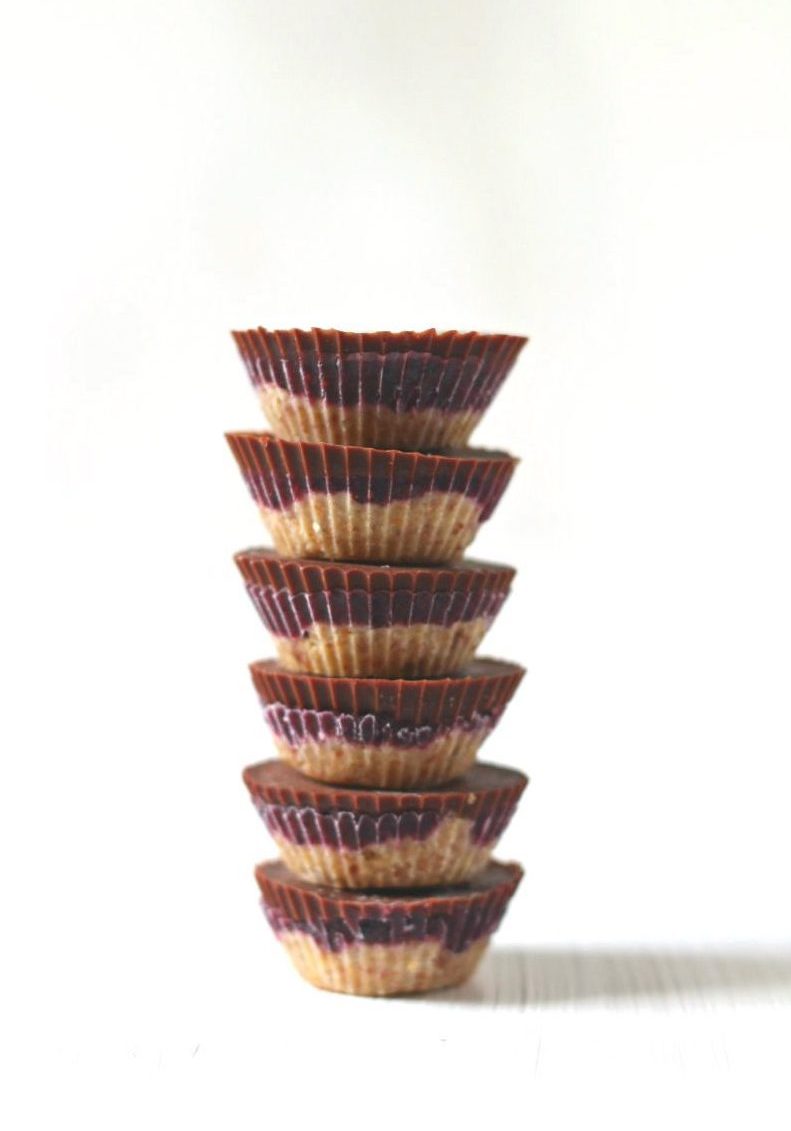
New dark timber throwing a purplish hue over my photo.
This was such a game-changer for me.
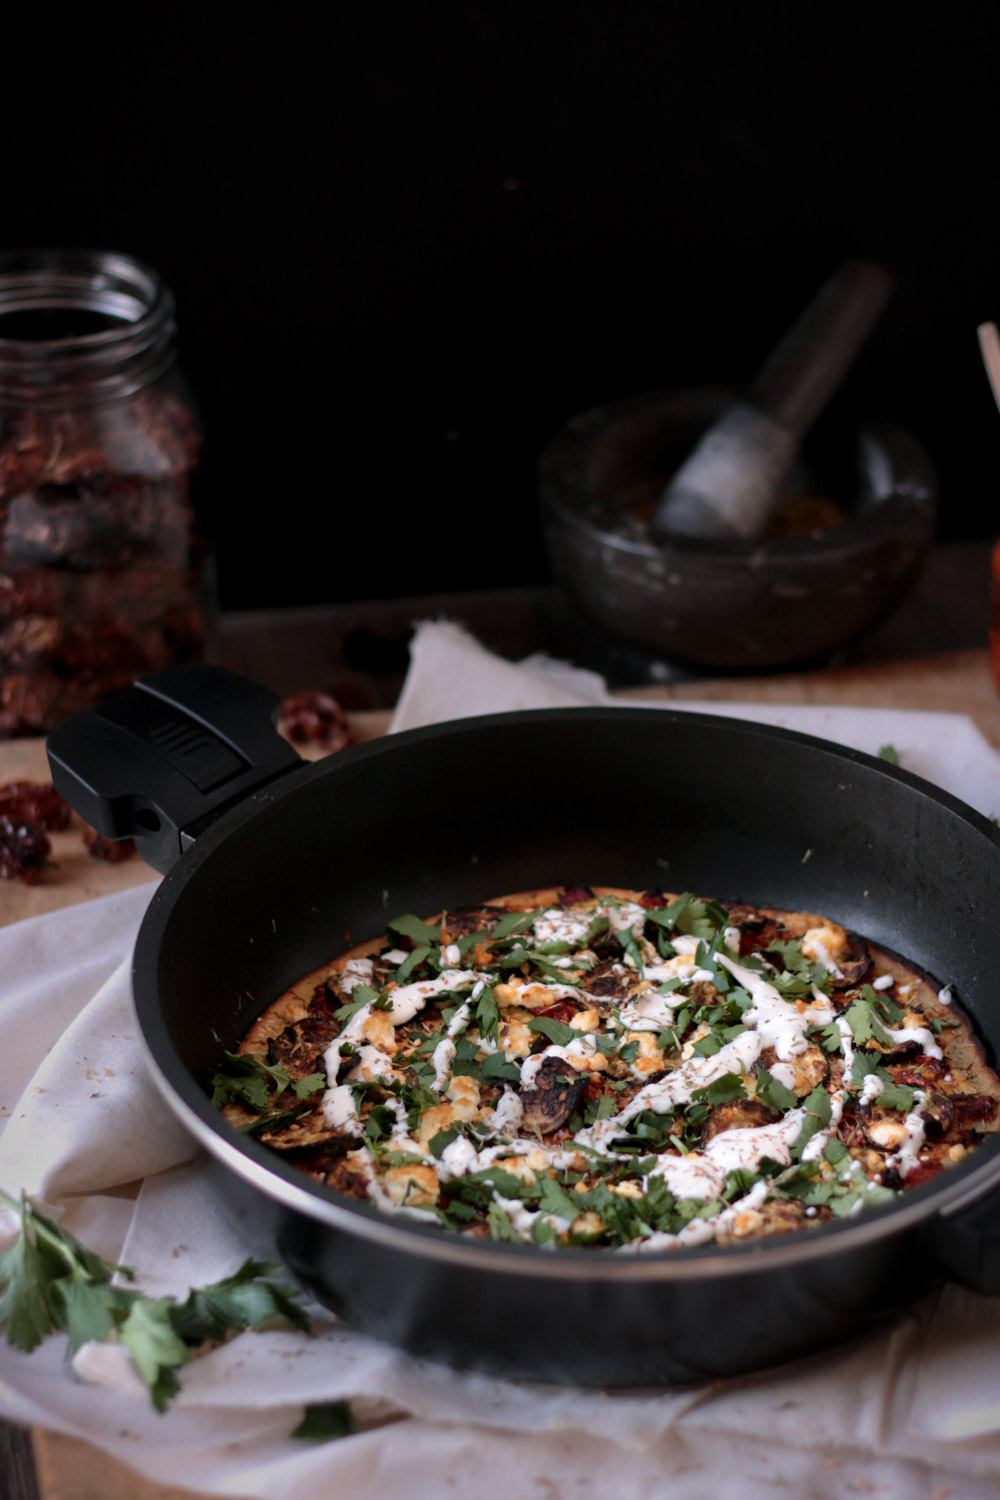
I understood before the difference between inside and outside light, warm light from the bright sun and cooler light in the shade, but I didn’t realise how directional light could effect the overall image, and how the colour of various furnishings in the house could create subtle changes to the light in each room.
I’d also lost the perfect cool light that I’d become reliant on, which I had even on a sunny day, yet in our new light-filled house didn’t exist.
It forced me to step out of my comfort zone and learn how to shoot in any situation; how to make the most of available light, how to use my environment to my advantage – even why I needed to change up my props in certain light situations due the reflection they could create or overall tones they may through.
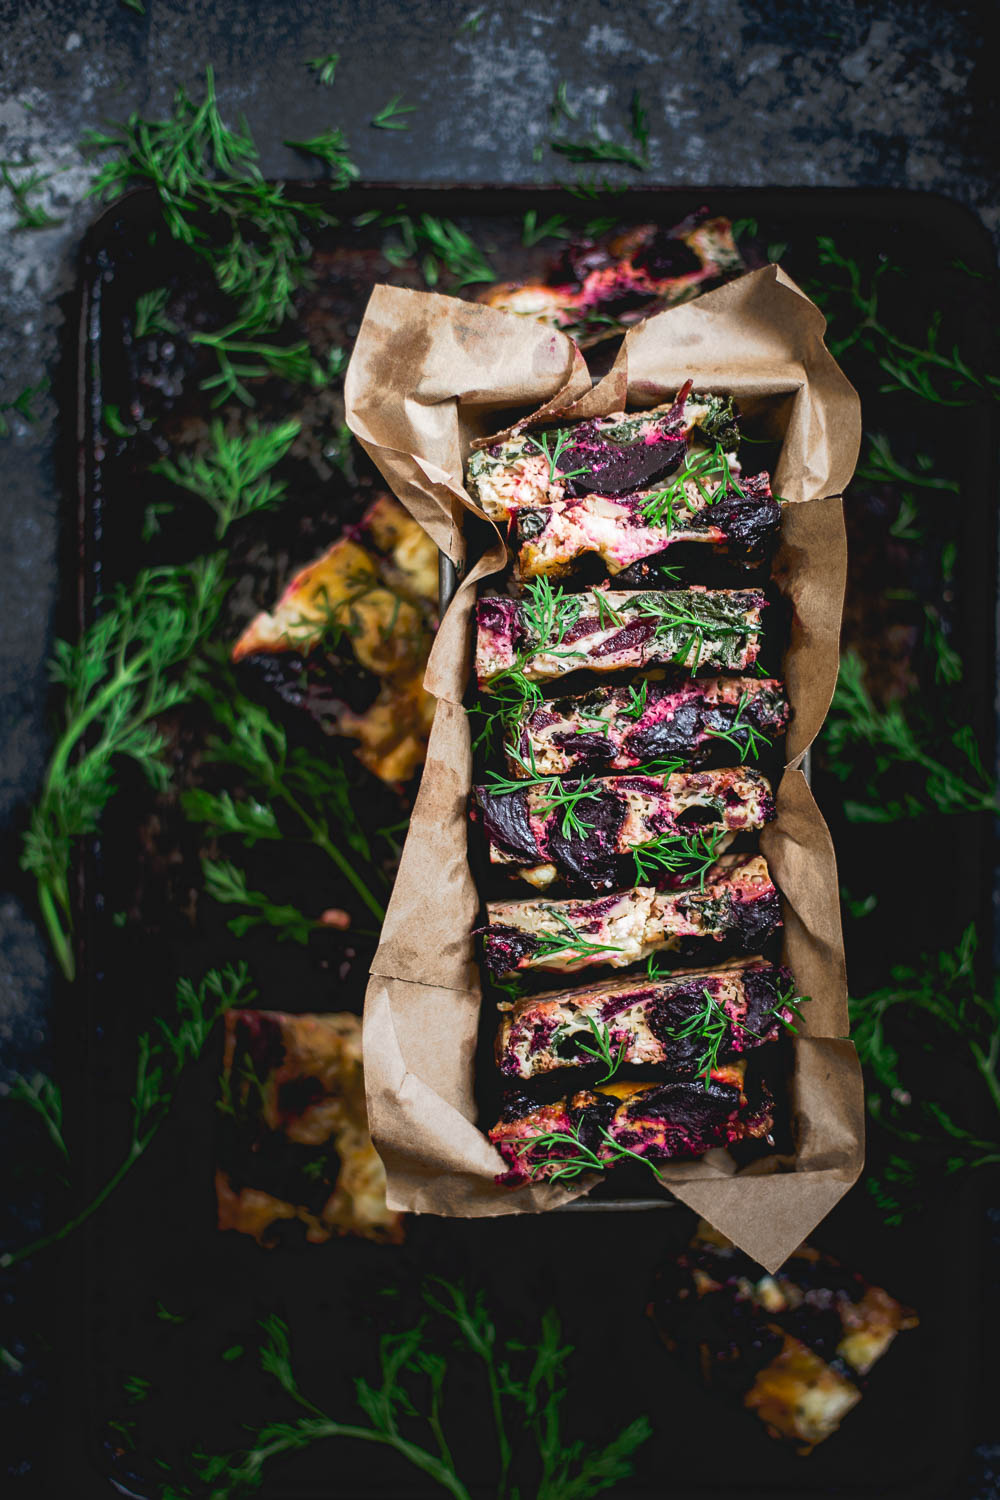
2016 was also the year I got my first freelance photography job, and this definitely helped to progress my learning, as well as learning how to deal with clients, meet briefs (or ask for a brief when one wasn’t provided, to ensure we were on the same page with what was required).
It was also in 2016 that I really started to focus on Lightroom and learn how – when all else failed – I could use Lightroom to not only correct some of the lighting issues I was facing when shooting, but also to stylise my images to create a consistent end look across all of my photos.
It was the missing piece of the puzzle that eventually provided me with an end-to-end process which I’m not only really happy with, but is a lot more efficient and takes a lot less time than what it would back in my early days of spending hours trying to line up my dog poo balls chocolate truffles in the straightest line known to man (hot tip: usually a more ad-hoc approach to styling food not only is a lot quicker, but looks a lot more natural and will provide a better shot for you in the end).
Of course though, I didn’t learn from my earlier mistakes of joining a Lightroom Editing course (though in fairness I wasn’t aware of any available at the time) but instead spent hours upon hours watching YouTube videos, often aimed at a different style of photography or containing a bunch of irrelevant information for what I wanted to achieve!
What I’ve learnt…
I have learnt so much about photography, styling and business over the last five years. Some of the key takeaways for me have been
1. Lighting is crucial. I really can’t emphasis this enough. I always knew lighting was important – any photographer will tell you that – but when we renovated our house and completely changed the lighting I realised how big an impact it actually had.
2. And following on from that – learn to use light in all it’s forms. Light and dark; bright and dull; cool and warm. This will not only help you learn lighting, it will also make you a better and more adaptable photographer.
3. Choose your advice wisely (or maybe “Don’t do everything you’re told”). This sounds a little counter-intuitive – especially by someone who teaches photography and is giving advice right now! – but a lot of the advice on the internet either isn’t the best advice, or it’s not necessarily the best advice for you. Very early on, I read somewhere about how important it was to include colour in food photography – think really vibrant, colourful shots of food. While this can be effective, it’s not the be-all and end-all. You can take a really beautiful shot using a few shades of the one colour, or by using light, texture and shadow to create effect rather than relying only on vibrant colours. But this wasn’t explained, and it took me a long time to learn it on my own. So make sure that when you are taking advice from someone, it’s someone who is able to explain all areas of a concept in depth – not just one key takeaway that they think is the only useful component.
4. Practice, practice, practice. I spent way too much time reading and researching online when I first started out, and not enough time actually doing. Practice really does make perfect!
5. Don’t be so hard on yourself. I am and always have been my own worst critic. There are many times when I told myself that I wasn’t good enough, that I would never get to where I want to be. Where I compared myself to others, not knowing their individual circumstances or skill level (and this extends way past photography!) We are all human, and we can all only do what we can, and as long as we are trying that is always good enough 🙂
The advice I would give 2013 me….
I’ve definitely learnt a lot in the five years since I first picked up a DSLR! And a lot of it I learnt the long way around. If I had the chance to do it all over, this is the advice I would give myself (or any other person starting out with food photography).
1. Practice, practice, practice! Im sorry for sounding like a broken record, but it really is key.
2. Do an online course. I wasted hours and hours reading blogs and watching videos that really weren’t relevant to me. While doing a course is a financial investment, the amount of time it can save you is so worthwhile. It also means that you will be closer to where you want to go sooner. So if you’re aim is monetising your photography somehow, it will get you to that point even sooner.
3. Challenge yourself. Don’t be like 2014/5 me and get comfortable shooting in the one spot, in the one type of light, only to have your (food photography) world come crashing down when you no longer have this space available, or are forced to shoot elsewhere. Or, change up your style, your angles etc. All of these things test us and help us learn what we do and don’t like, and what photographer we want to be.
4. When making chocolate balls, make sure that it’s obvious from the photos that they really are chocolate balls, and not dog poop rolled in coconut… 😉
WANT MORE?
My Food Styling + Photography masterclass bundles everything I have learnt in the past five years into a structure online course that will take you step-by-step through the fundamentals that underpin beautiful food photos.
Along with structure lessons, you’ll also have the opportunity to ask questions and receive feedback on your images to help continue your progress.
Sign up to for exclusive content and special offers
Oh I love this! So inspiring and your early days with a dslr sounds exactly like where I am now! I can already see myself relying on my safe spot in my studio and wanting to learn how to use all forms of light and having that knowledge and flexibility so I can take photos anywhere!
Can’t wait to get started!