How to get really sharp images in Instagram
6
APRIL 2017
Have you ever posted an image to Instagram or Facebook that looked sharp and clear on your computer or phone, only to find that it’s crispness and looks a little fuzzy once it’s been posted?
When you post photos to Instagram, the images are compressed, which means that they lose some of their clarity. This means that a photo you edited on your computer that looks crisp and clear there, my not appear exactly the same once posted to Instagram. This will also flow through if you also then share to Facebook.
To overcome this, there are a few quick steps that you can take to ensure that your images look their best no matter where you post them.
- Use a higher resolution image
Using a high resolution will ensure that the image compression is not as noticeable. While I will resize photos I shoot for a blog post, I usually export my photos from Lightroom at full resolution and then post to Instagram.
If you do edit your image in Lightroom (or other editing software on your computer) and then export to your phone, try to keep the image resolution to 1080px x 1080px for a square image, or 1080px x 1920px (or 1920px x 1080px) for a landscape or portrait shot.
Hot tip: If you’re going to take a photo for Instagram on your phone, take it within the Instagram app, and then edit it using the Instagram editing tools. Photos taken with Instagram’s camera are not compressed as much as images taken on your phone but not within the app itself. Therefore when the shoot-edit-post process is done completely within the Instagram app, your image will be a high resolution than when any part of the process is done outside of the app.
2. Tweak your photos using Instagram’s editing tools before posting
Instagram has made a lot of improvements to their in-app editing features over the past year or so. You can now set the intensity of a filter, or use one of their in-app editing tools to increase or increase a certain aspect of your photo, such as the brightness, contrast or temperature.
The tools you’ll want to play with to get a really sharp image are structure and sharpen, though I may also play around with the contrast as well.
The Structure tool is a really neat little effect which combines the contrast and sharpen features to highlight and bring out the difference between the light and dark tones in your image. This would be the first tool I would suggest playing with. If you then need a little something extra, try the Sharpen tool, and/or the Contrast.
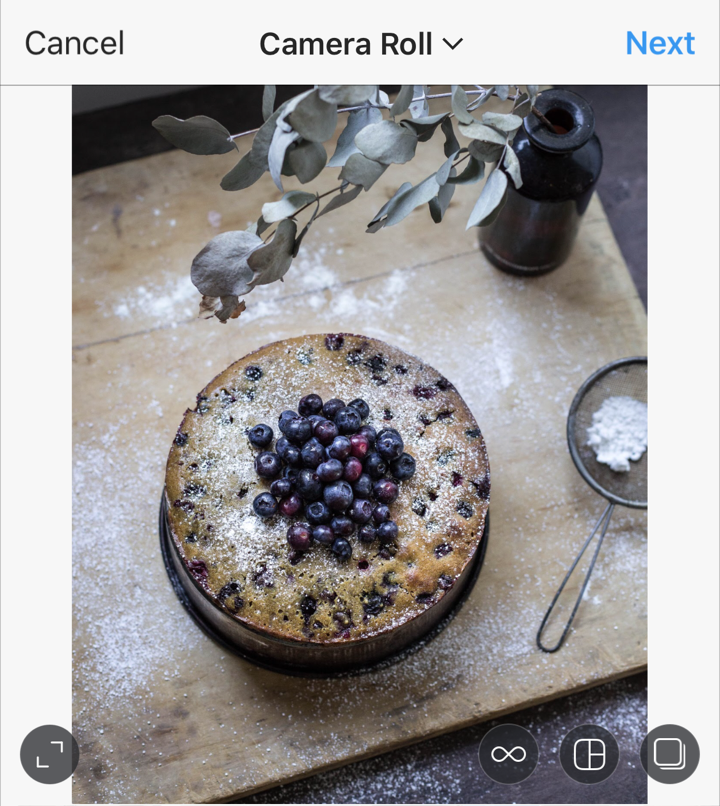
Pre-IG edits
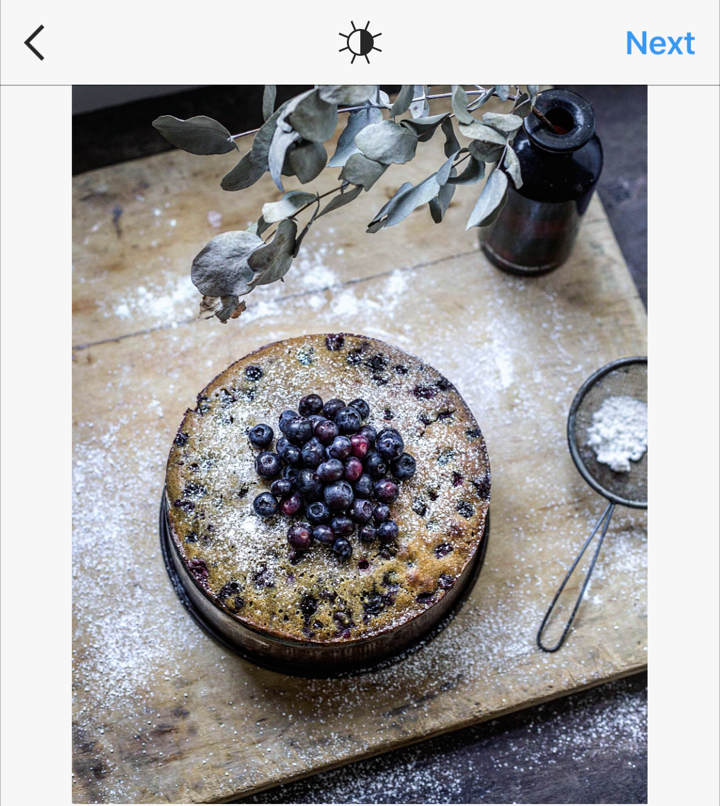
After IG edits
As you can see from the images above, by using the Structure (set to 25) and the Sharpen (set to 15), the details in the image now really pop. You can see this most around the blueberries on the cake, icing sugar on the wooden board, and in the gum leaves.
One thing to note though is that while little tweaks can really enhance an image, these tools can be quite powerful, and going too far can ruin an image.
The image sequence below shows the original image (previously edited in Lightroom), the same image with slightly increased structure and sharpened via IG, and then a third shot which has the Structure and Sharpen both pushed up to 50. You can see that not only does the image start to look grainy, but by increasing the Structure, the colours have started to warp a little, with blueish/purple tones around the bowl, and pink/red tones reflecting off the pot in the bottom right corner.
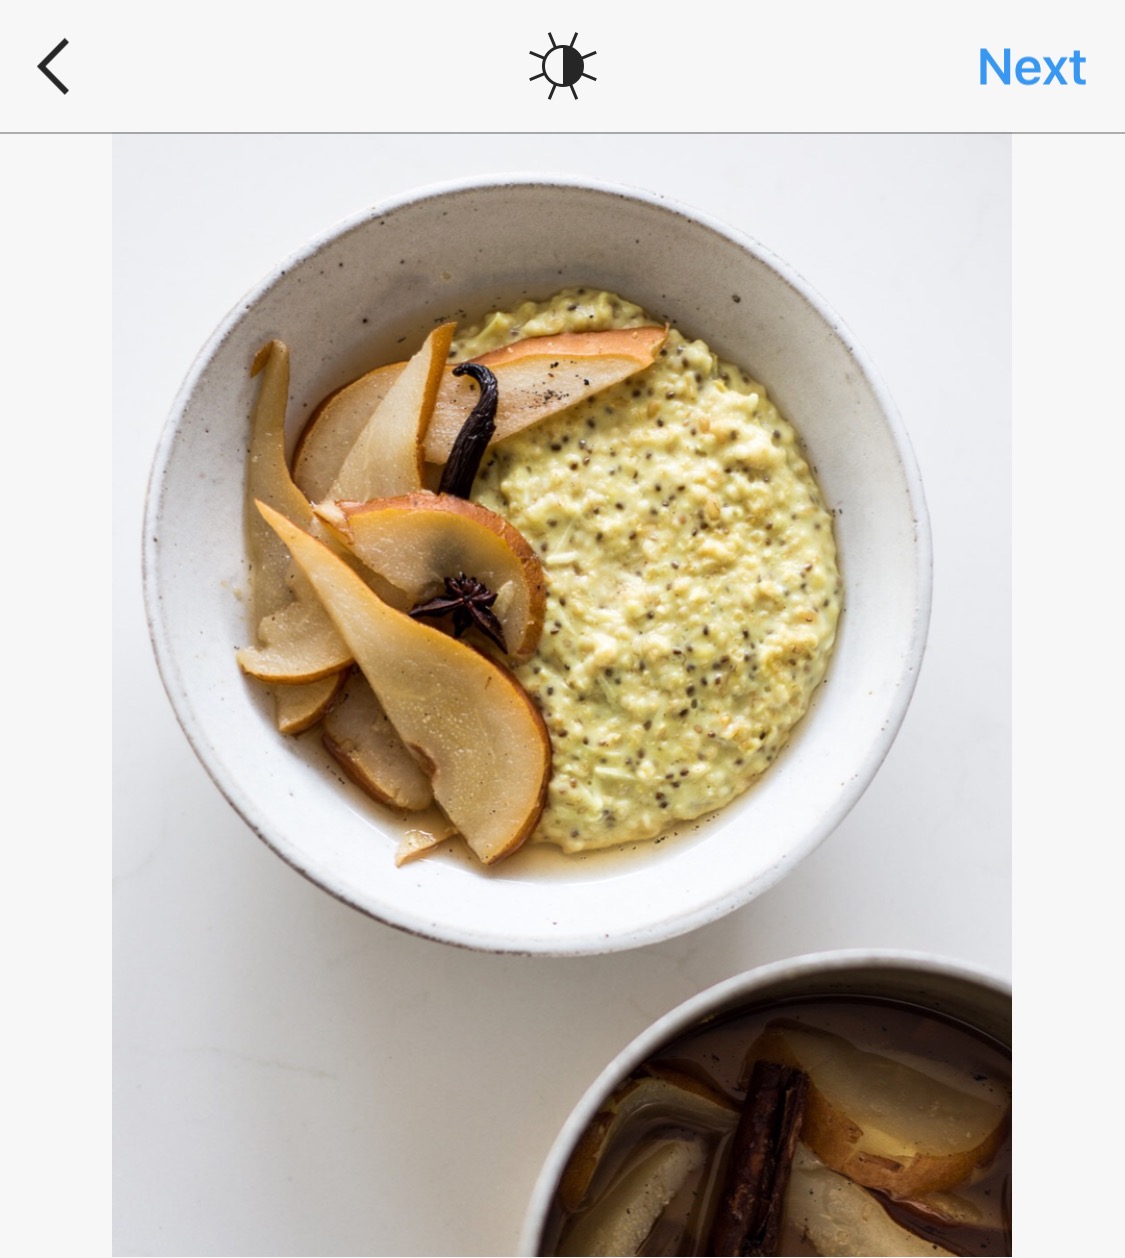
Pre-IG edits
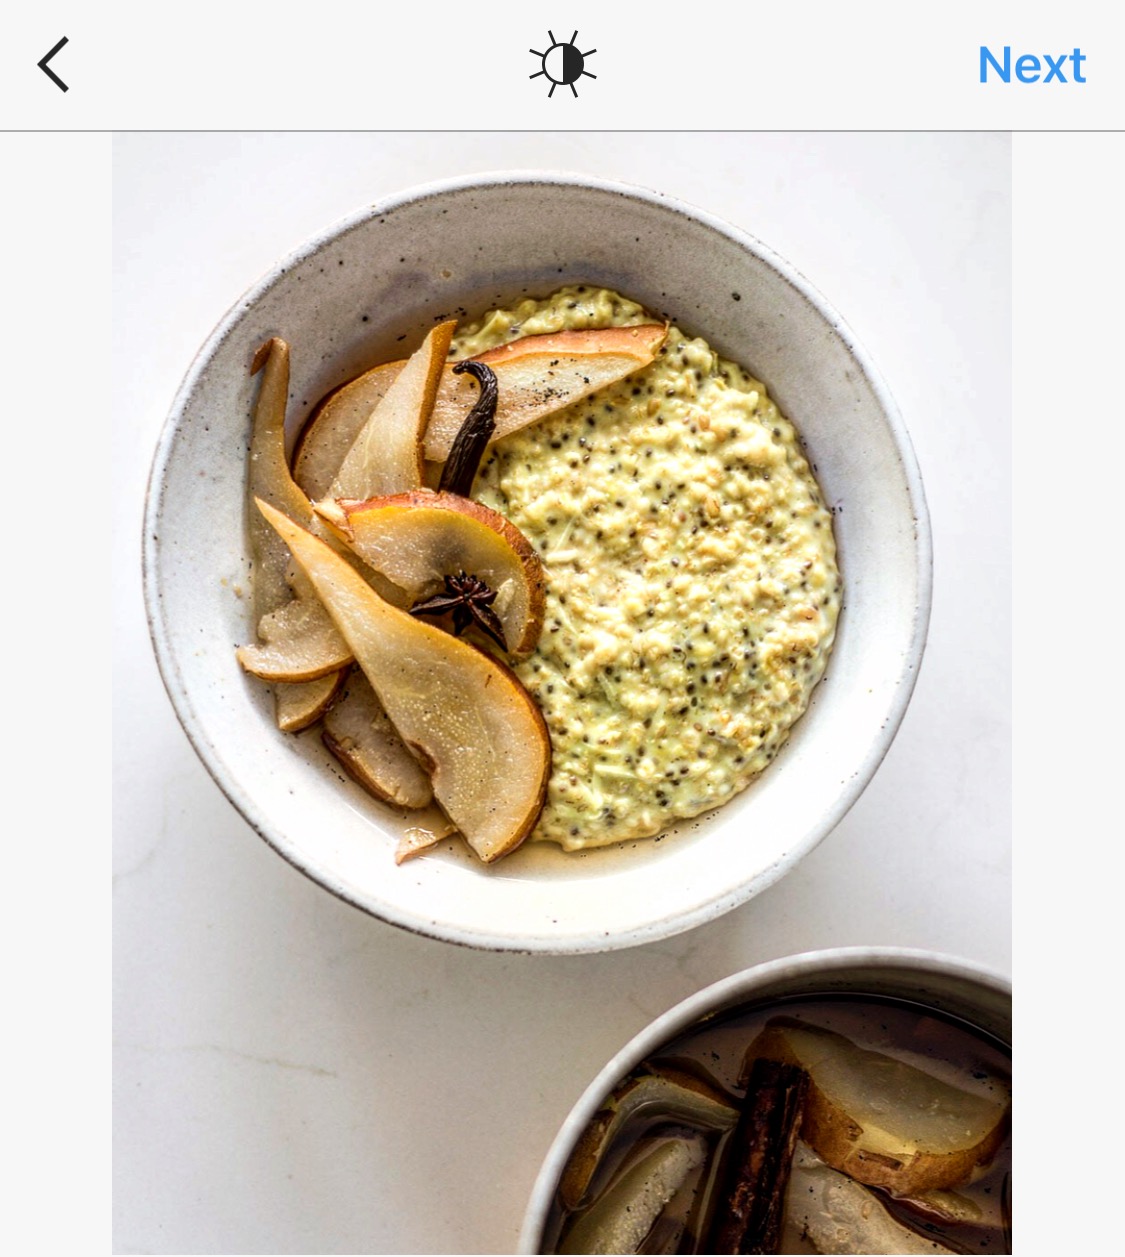
With subtle IG edits
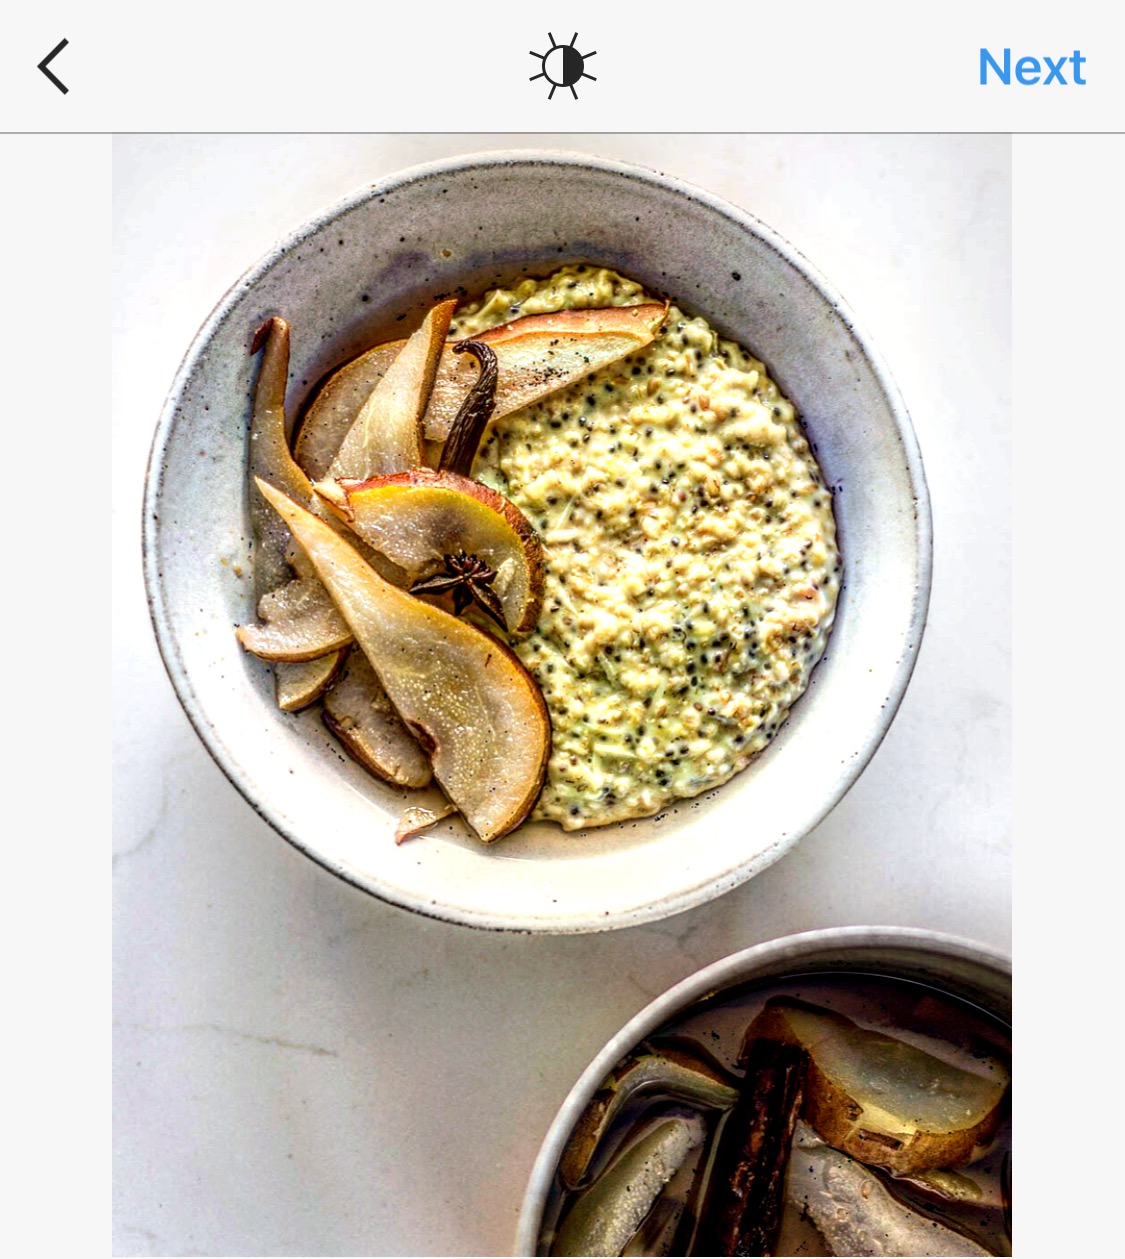
Over-edited in IG
So – next time you post an image to Instagram, try posting a higher resolution image, and tweaking the image with the editing tools to see if you can get a really sharp image.
And if you give this a go, make sure you tag me @tohercore so I can see your gorgeous shot!
WANT MORE?
Make sure to check out my FREE eBook on Photography and Editing tips for Instagram
Sign up to for exclusive content and special offers
While the auto-focus in our cameras and lenses are often superb, nothing will get you consistently sharp images than manual focusing—even in low light.
Agreed – manual focusing is the best way to ensure the image is as sharp as possible in the first, and the focal point is exactly where you want it to be. Unfortunately though Instagram still compresses images when posting, which is what the above techniques aim to help with.
lets say I’m dealing with higher resolution images eg photoshoot images that are 2000px and beyond), how do I go about posting these to Instagram. should I downgrade these to 1080px in PS/Lightroom first?
I would keep them as they are – the resolution I’ve quoted here is the minimum I would go. Because Instagram compresses so much, you lose a lot of detail. I always export my photos keeping max resolution, and then use them in Instagram without any cropping.
IG does actually register the compression levels based on the image properties. Be careful when suggesting people use full resolution images. When an image goes above the 1080px range, the compression gets stronger and the same or more so when combined with image file size.
The best I’ve found based on the tips of others is to export in Lightroom at 1080px / 50-quality for jpg compression. This will leave your file small enough to avoid file size compression and the resolution at 1080px will see the least degradation.
Of course…IG is notorious for taking our beautiful photos making them mobile friendly…so no matter what, the pictures we post will always turn out far less sharp than we would like, at least as of now.