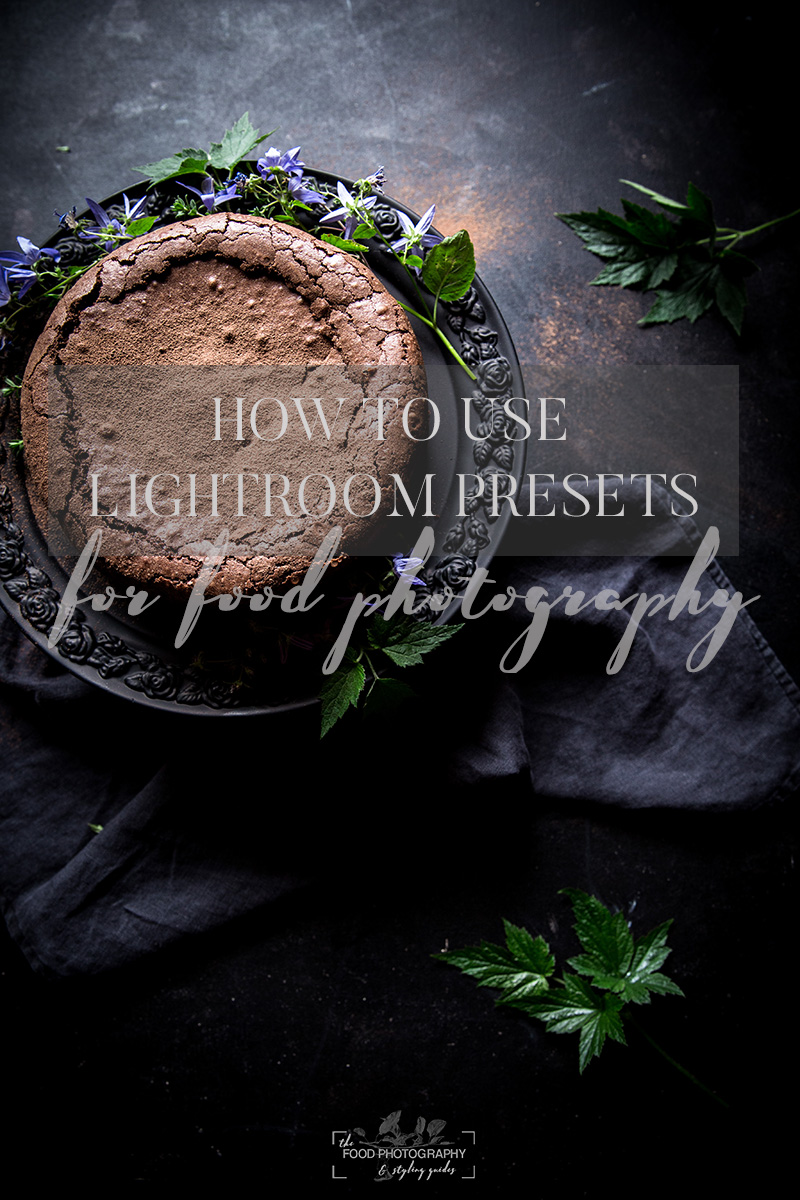
Using Lightroom presets to speed up your editing process
23
FEBRUARY, 2018
I’ll let you in on a little secret – it used to take me HOURS to edit a photo shoot.
I used to edit each image from scratch and spend ages slowly moving the panels and making minor tweaks to get the look that I was going for.
And at the end of all of this, I had an image that still wasn’t what I was really after – and it had taken me forever to get there!
A few years ago I met a wedding photographer and I asked about her process and how she managed get through hundreds if not thousands of images without it taking up days and days of her time. She let me in on her secret – she used presets in Lightroom as a base, and then just tweaked each image (if needed) from there.
This sounded almost too good to be true, and – at the time – it almost was. Back then, there was very little in the way of presets designed specifically for food photography, so I had the genius idea of purchasing the ones which had the most shots of wedding cake in the demos! Turns out, my idea wasn’t so genius and I ended up with a pack of warm, dreamy presets that did not translate well when used for food shots – especially for that dark, moody look I was trying to achieve!
So, I persevered – I spent hours learning Lightroom and eventually made my own presets which worked beautifully for food, and gave each shot that dramatic moody feel that I love.
So what exactly are Lightroom presets?
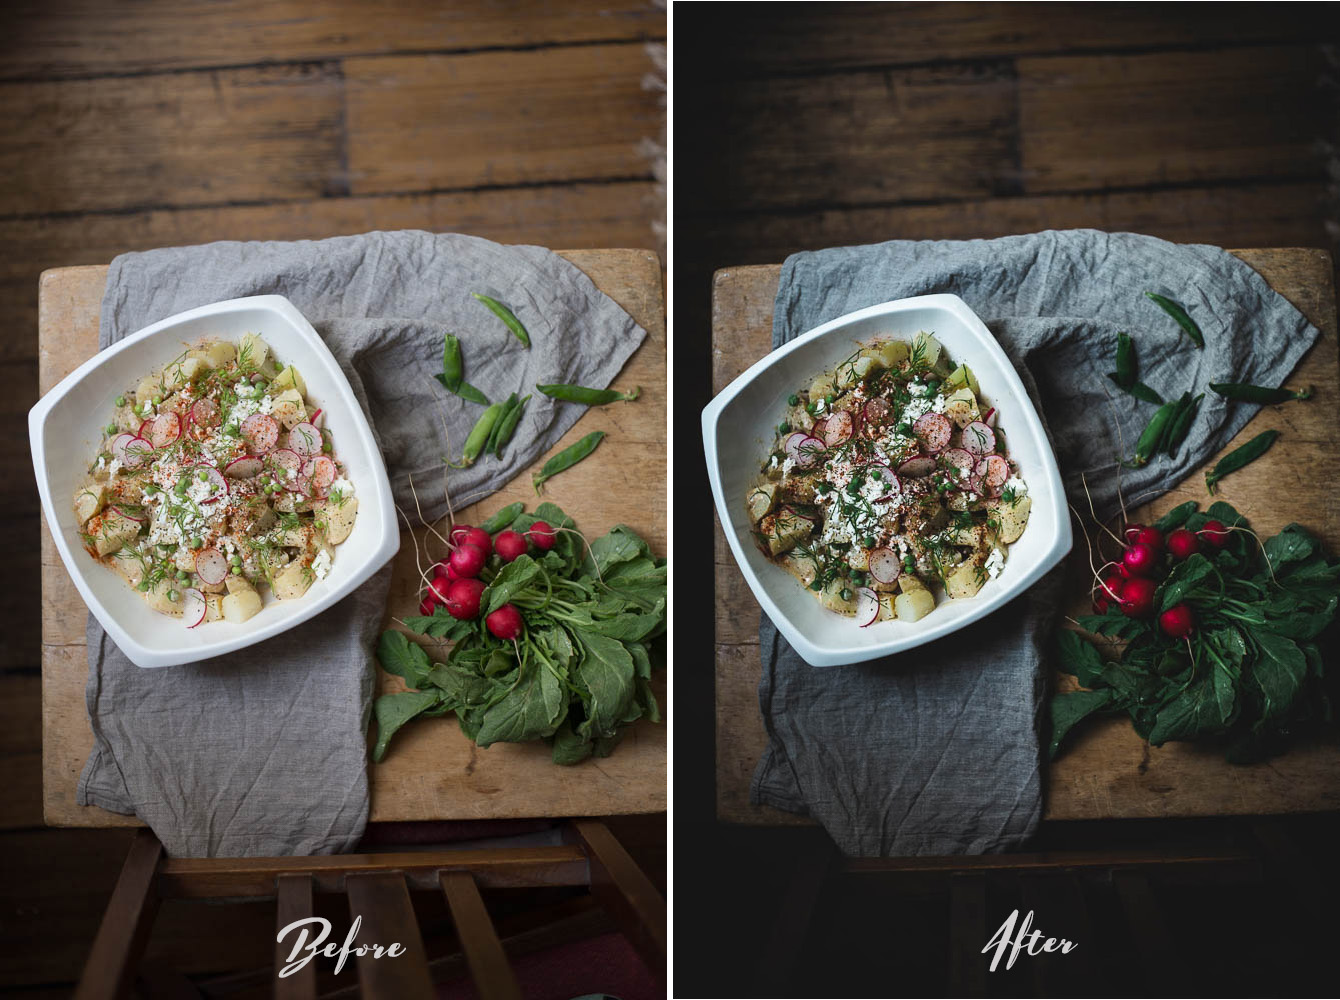
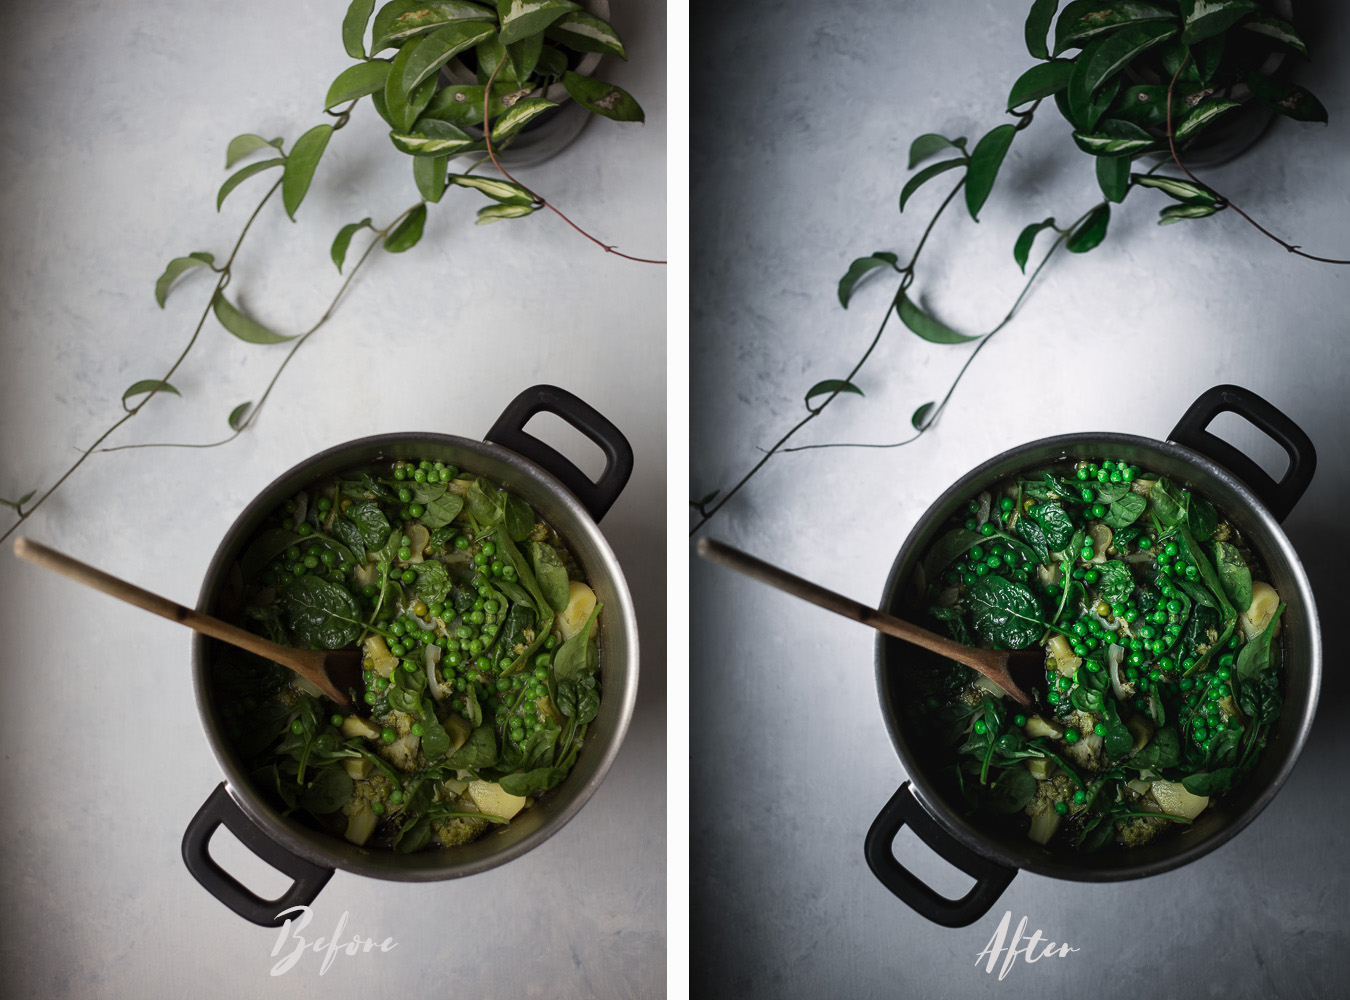
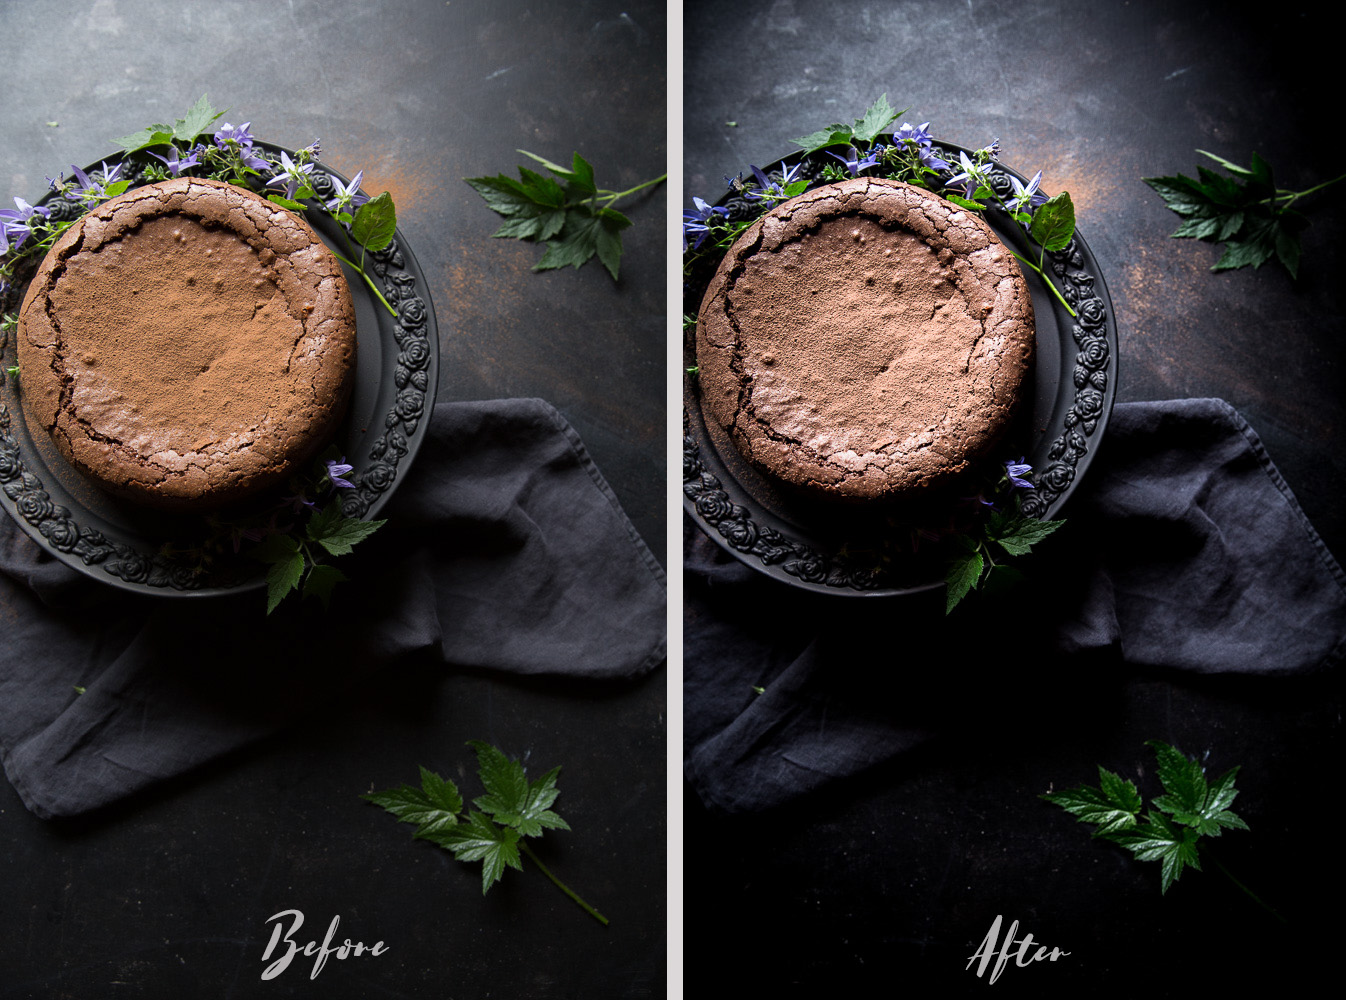
Lightroom presets work in a similar way to how you might use a filter to change the look of a photo you’ve snapped on your phone before uploading it to Instagram, only way better! They work by applying edits to every aspect of detail of an image required to create a specific look. For example, my Dark + Moody presets will change the light – the exposure, the highlights, the shadows, the tones – while also adjusting other components such as colour saturation and luminosity to create a dramatic, moody look.
How easy are they to use?
Really easy! Once you have installed them, all you need to do is to click on the preset you wish to use in the Develop module within Lightroom, which will apply the settings to your chosen image.
That’s it!
From here, you can further tweak it to get the look exactly as you want, or try a different preset. This process makes editing extremely quick and easy, and takes a lot of the guess work and frustration out of it if you are new to Lightroom and struggling to get the look you want.
To see exactly how easy it is, check out the video below to see how I use presets in my own post processing to get a really moody look for my images.
So, how to overcome this? It probably goes without saying, but the way to overcome this is to TAKE A STEP BACK.
Let your viewer see some of your surrounds. Include some “hints” in the background as to what is in the dish, where you are eating it or where you made it. Through doing this, you’ll be able to give the viewer a better idea of what it is exactly that they are viewing, and ultimately a better base to start imagining themselves enjoying the dish.
How to get the most out of Lightroom presets
- Always shoot in RAW. This means that the details in the image will be stored in the image file separately, so that when you apply the preset, it will alter each individual detail (eg tones, hues, light) separately
- Don’t make the same mistake as me – make sure you choose presets that are specifically made for food photography
- While some presets will give you the exact look you want for some photos, for others, you may need to tweak slightly. Play with the sliders in the basics panel, or try applying a local adjustment like in the video above to tweak certain areas of the image.
WANT MORE?
Sign up to for exclusive content and special offers