The #1 thing to know for stunning food photography
5
AUGUST, 2016
If I were to ask you what was the #1 thing you needed to achieve stunning food photography, what would you say it was?
An expensive DSLR camera?
A plate of beautifully styled food?
A designer kitchen to shoot in?
While all of these things are important (except perhaps for the latter – there are many creative ways to get around having a photogenic kitchen to shoot in), I would argue that
The #1 most important thing for getting a good food shot is lighting.
Lighting really can make or break a photo, and good lighting can not only make an image more appealing, it can actually add mood and emotion, and help to tell the story of your food which creates a connection with your viewer.
In the world we live in today, this is increasingly important as we are swamped with images of food everywhere we look and to sell your products; to get people to click through to your blog; to get them to go to your café; to get them to buy your cookbook; you need to be able to engage with them.
So what are the key elements to getting the correct lighting?
– George Eastman
- USE NATURAL LIGHTING
2. LEARN HOW TO MANIPULATE NATURAL LIGHT
3. LEARN HOW TO CORRECT WHITE BALANCE
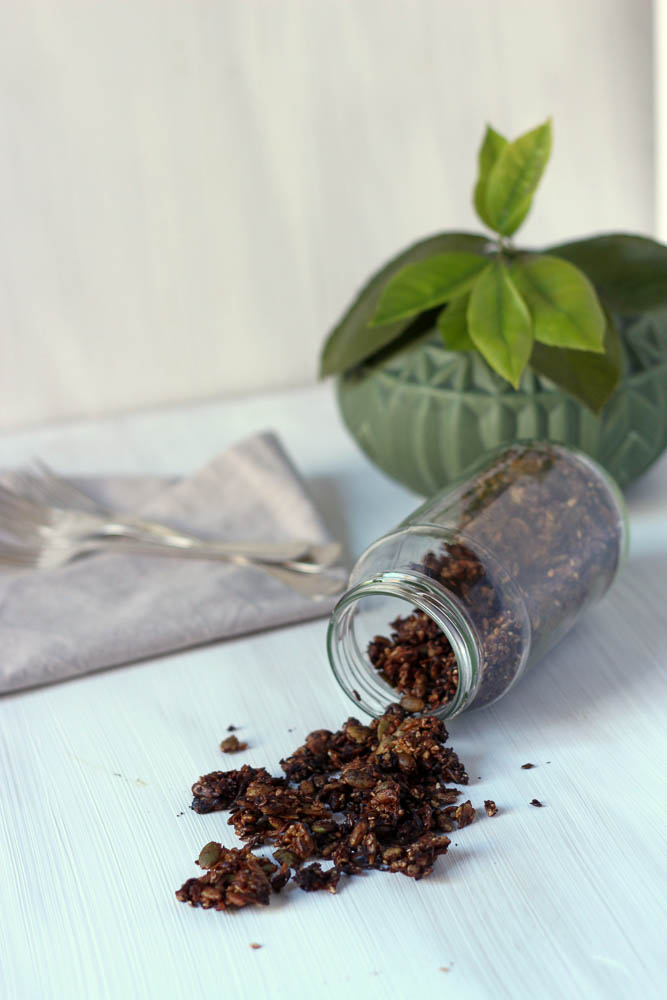
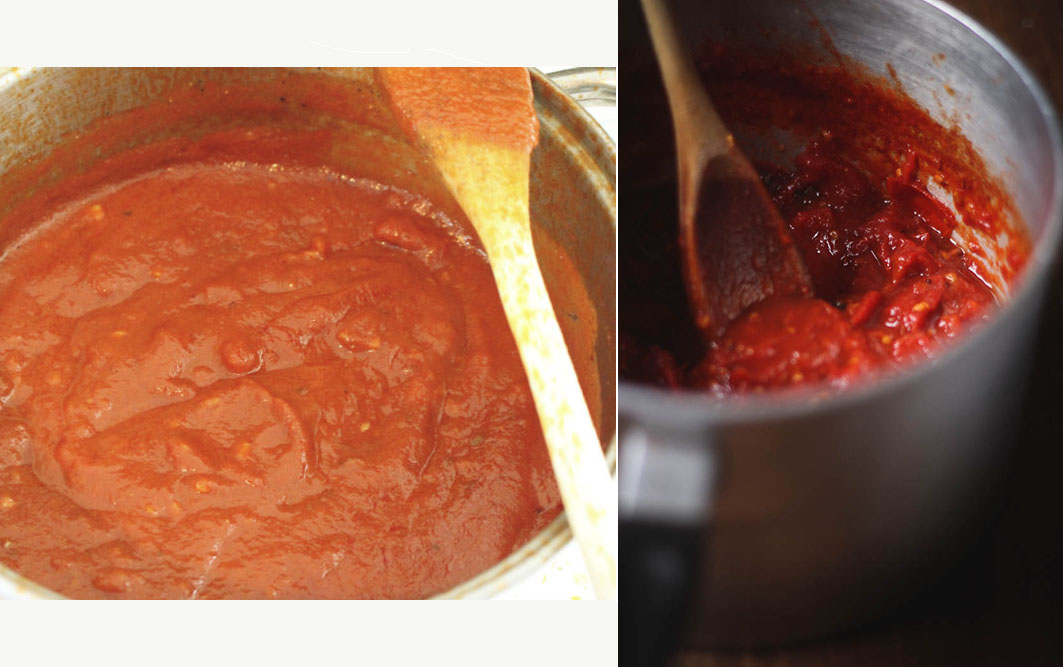
I re-shot this image a few months ago – it actually looks quite tasty here!
So – the million dollar question! What is the easiest way to get correct lighting for food photography?
I wish it was as easy as giving you a few simple tips – and I hate to be the bearer of bad news – but getting the right lighting can take a lot of practice. It can take a while to start to recognise what natural lighting looks like. But – it does get easier, I promise!
In the meantime, make sure that you are only shooting in natural lighting. Turn off any artificial lights – whether it’s the ceiling light in the room or out in the hallway, a TV or anything else in the room with a bright LCD display – any of these things can cast an ugly glow over your images. And importantly – ensure the flash on your camera is turned OFF.
WANT MORE?
In the Food Photography + Styling Guides, we discuss the various forms of natural lighting and how to choose where in your house has the best lighting (it may not be the most logical or obvious place!) and what time of day to shoot to get the look you want.
You’ll learn how to manipulate light, creating shadow to add depth, contrast and mood, or adding light to create brightness and vibrancy, depending on your desired style.
You’ll also learn how to shoot in manual and master the “exposure triangle” – that is, to perfectly balance the light within your camera when shooting.
The soon-to-be-released editing module also includes guides on attaining that light-and-bright lighting or dark-and-moody vibe, as well as correcting white balance.
You’ll also learn how to make your own filters for constancy in lighting and colour throughout your images.
Sign up to for exclusive content and special offers