Mistakes beginners make #2: Not shooting in RAW
5
FEBRUARY, 2017
This email is the second in the series of the top #3 mistakes that beginner food photographers make (if you missed the first one, you can read it here).
Though these are mistakes “beginner” food photographers commonly make, what I’m sharing with you today is something which I am a little embarrassed to share that I did myself until quite recently! *hangs head in shame*
I have been told a few times over the years how important it was to shoot in RAW, but I don’t think I really paid attention until it was properly explained to me.
When we have an understanding of how things work, it’s much easier to use that information to inform our actions.
So – today I’m going to try and explain it to you in a way that makes you go “Ahhhhhh!” I want it to really click for you, like it did recently for me, so that you will switch over to RAW and never look back!
So what exactly is RAW, and what does it mean?
When we take photos with DSLR cameras, we can specify what type of file format photos should be taken in. You usually have two main options – JPEG or RAW. You can specify which file type you prefer in the settings section of your camera (how to do this exactly will depend on your camera make and model).
Now, a little something about me that you may or may not know – I work in IT as a Business Analyst when I’m not being a camera taking photos of food! So when I had this all explained to me, it was in a slightly more a technical way… But, just in case any of you get a little confused when it comes to “techy” things – which I totally get! – I’m going to try and explain it using an analogy which hopefully you will all be able to relate to…. food! 🙂
So here goes…
Imagine that you are making a delicious, aromatic soup to keep you warm on a cool day. You’ve cooked up some onion and leeks with a little garlic, added in some minced ginger and chilli, and then added your vegetables and stock and let it simmer away for a while. Once it’s cooked, and then cooled down a little, you transfer to your blender and blend away until it’s silky smooth. You then pour it into a bowl, grab a spoon and…. Quickly spit it back out – you over did it with the chilli and it’s waaaayyy too spicy!
Now, if you had realised this before you blended the soup, you could have simply removed some of the chillies so that the heat was more evenly balanced. But now that the soup has been blended, it’s going to be pretty hard to get the balance right again and counteract the spiciness.
So what does this have to do with the file format you shoot it? Well, a JPEG is a compressed file, which means that all of the bits of information (or ingredients) in the image, such as the exposure, lighting, white balance etc, have all been compacted – a little like a blended soup. If you need to make a change to the image after you’ve taken it to balance out one of these pieces of information, it can be a little tricky. For example, if the white balance is off, in trying to fix it, you may get the colour right in one part of the image, but this may in turn skew the tones in the rest of the image.
On the other hand, if you shoot in RAW, these pieces of information are stored separately – much like an un-blended soup! So if there is one component of the image that’s not quite right it’s much easier to fix this issue in post-processing without it affecting the rest of the image.
So what exactly does this look like?
In the examples below, I set my camera to take a photo and create two files of the same shot – one in RAW and one in JPEG.
Without any editing, you can see the difference in the two shots. The RAW shot is a little brighter than the JPEG, which has more shadow and dark spots. While you may like the darker, moodier style of photography like I do, this isn’t necessarily a good thing, as these darker areas bring with them a slight loss of detail.
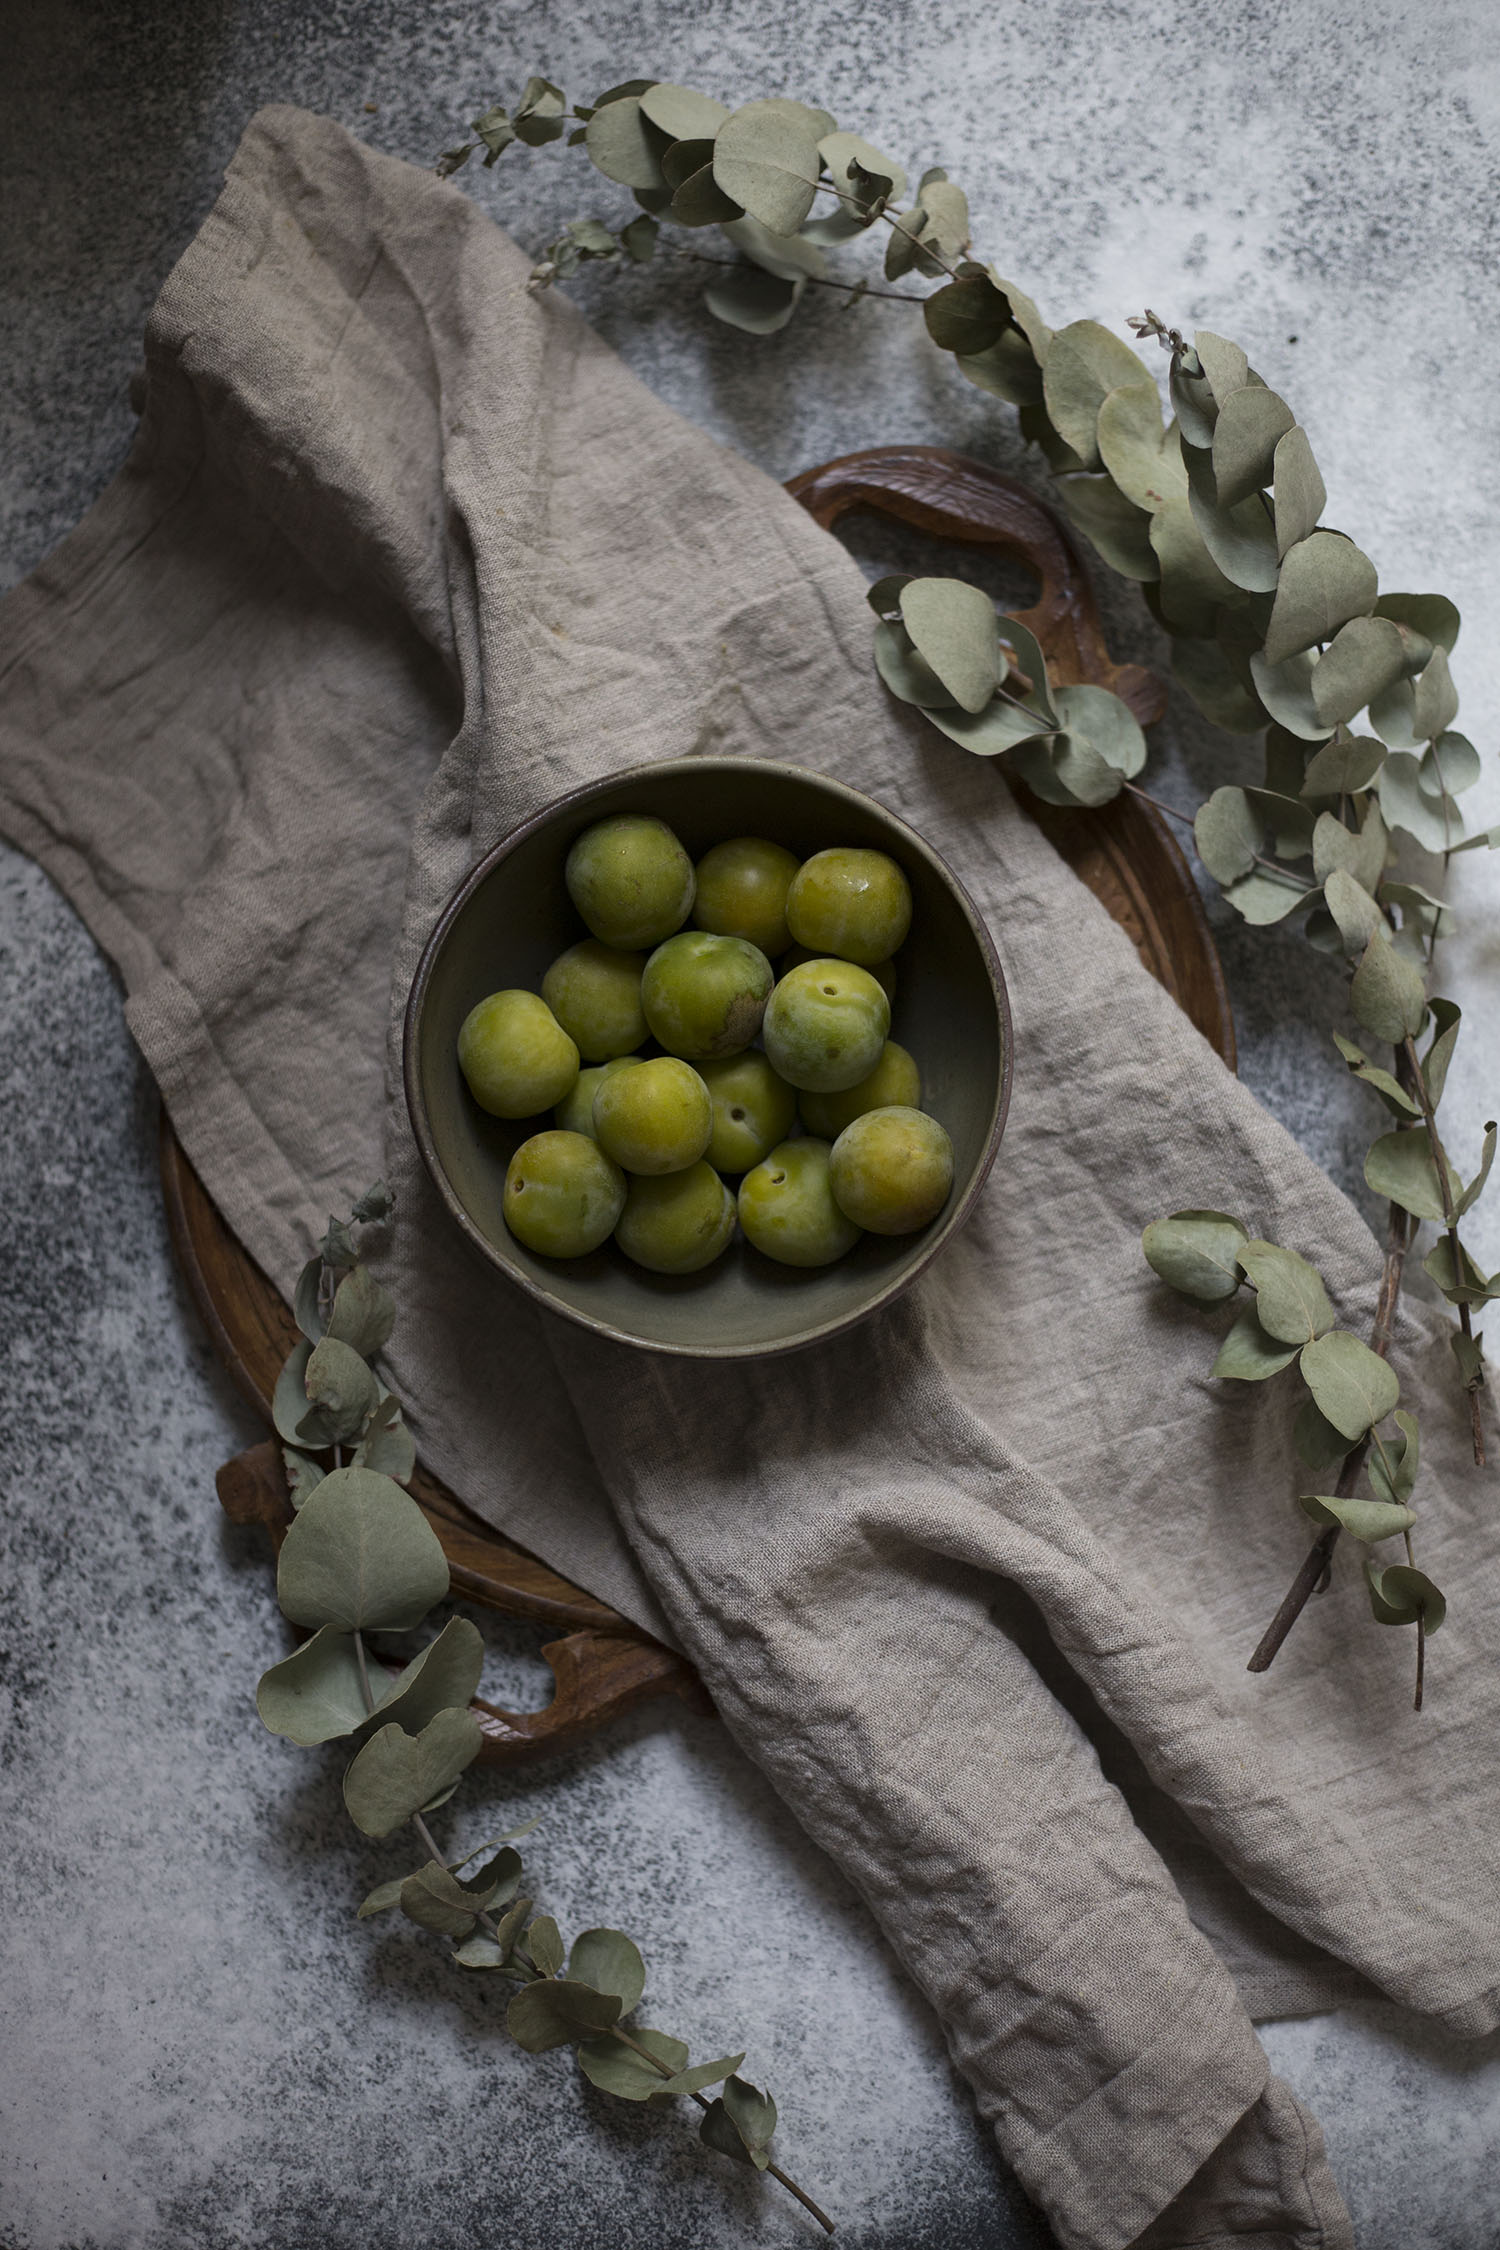
RAW image
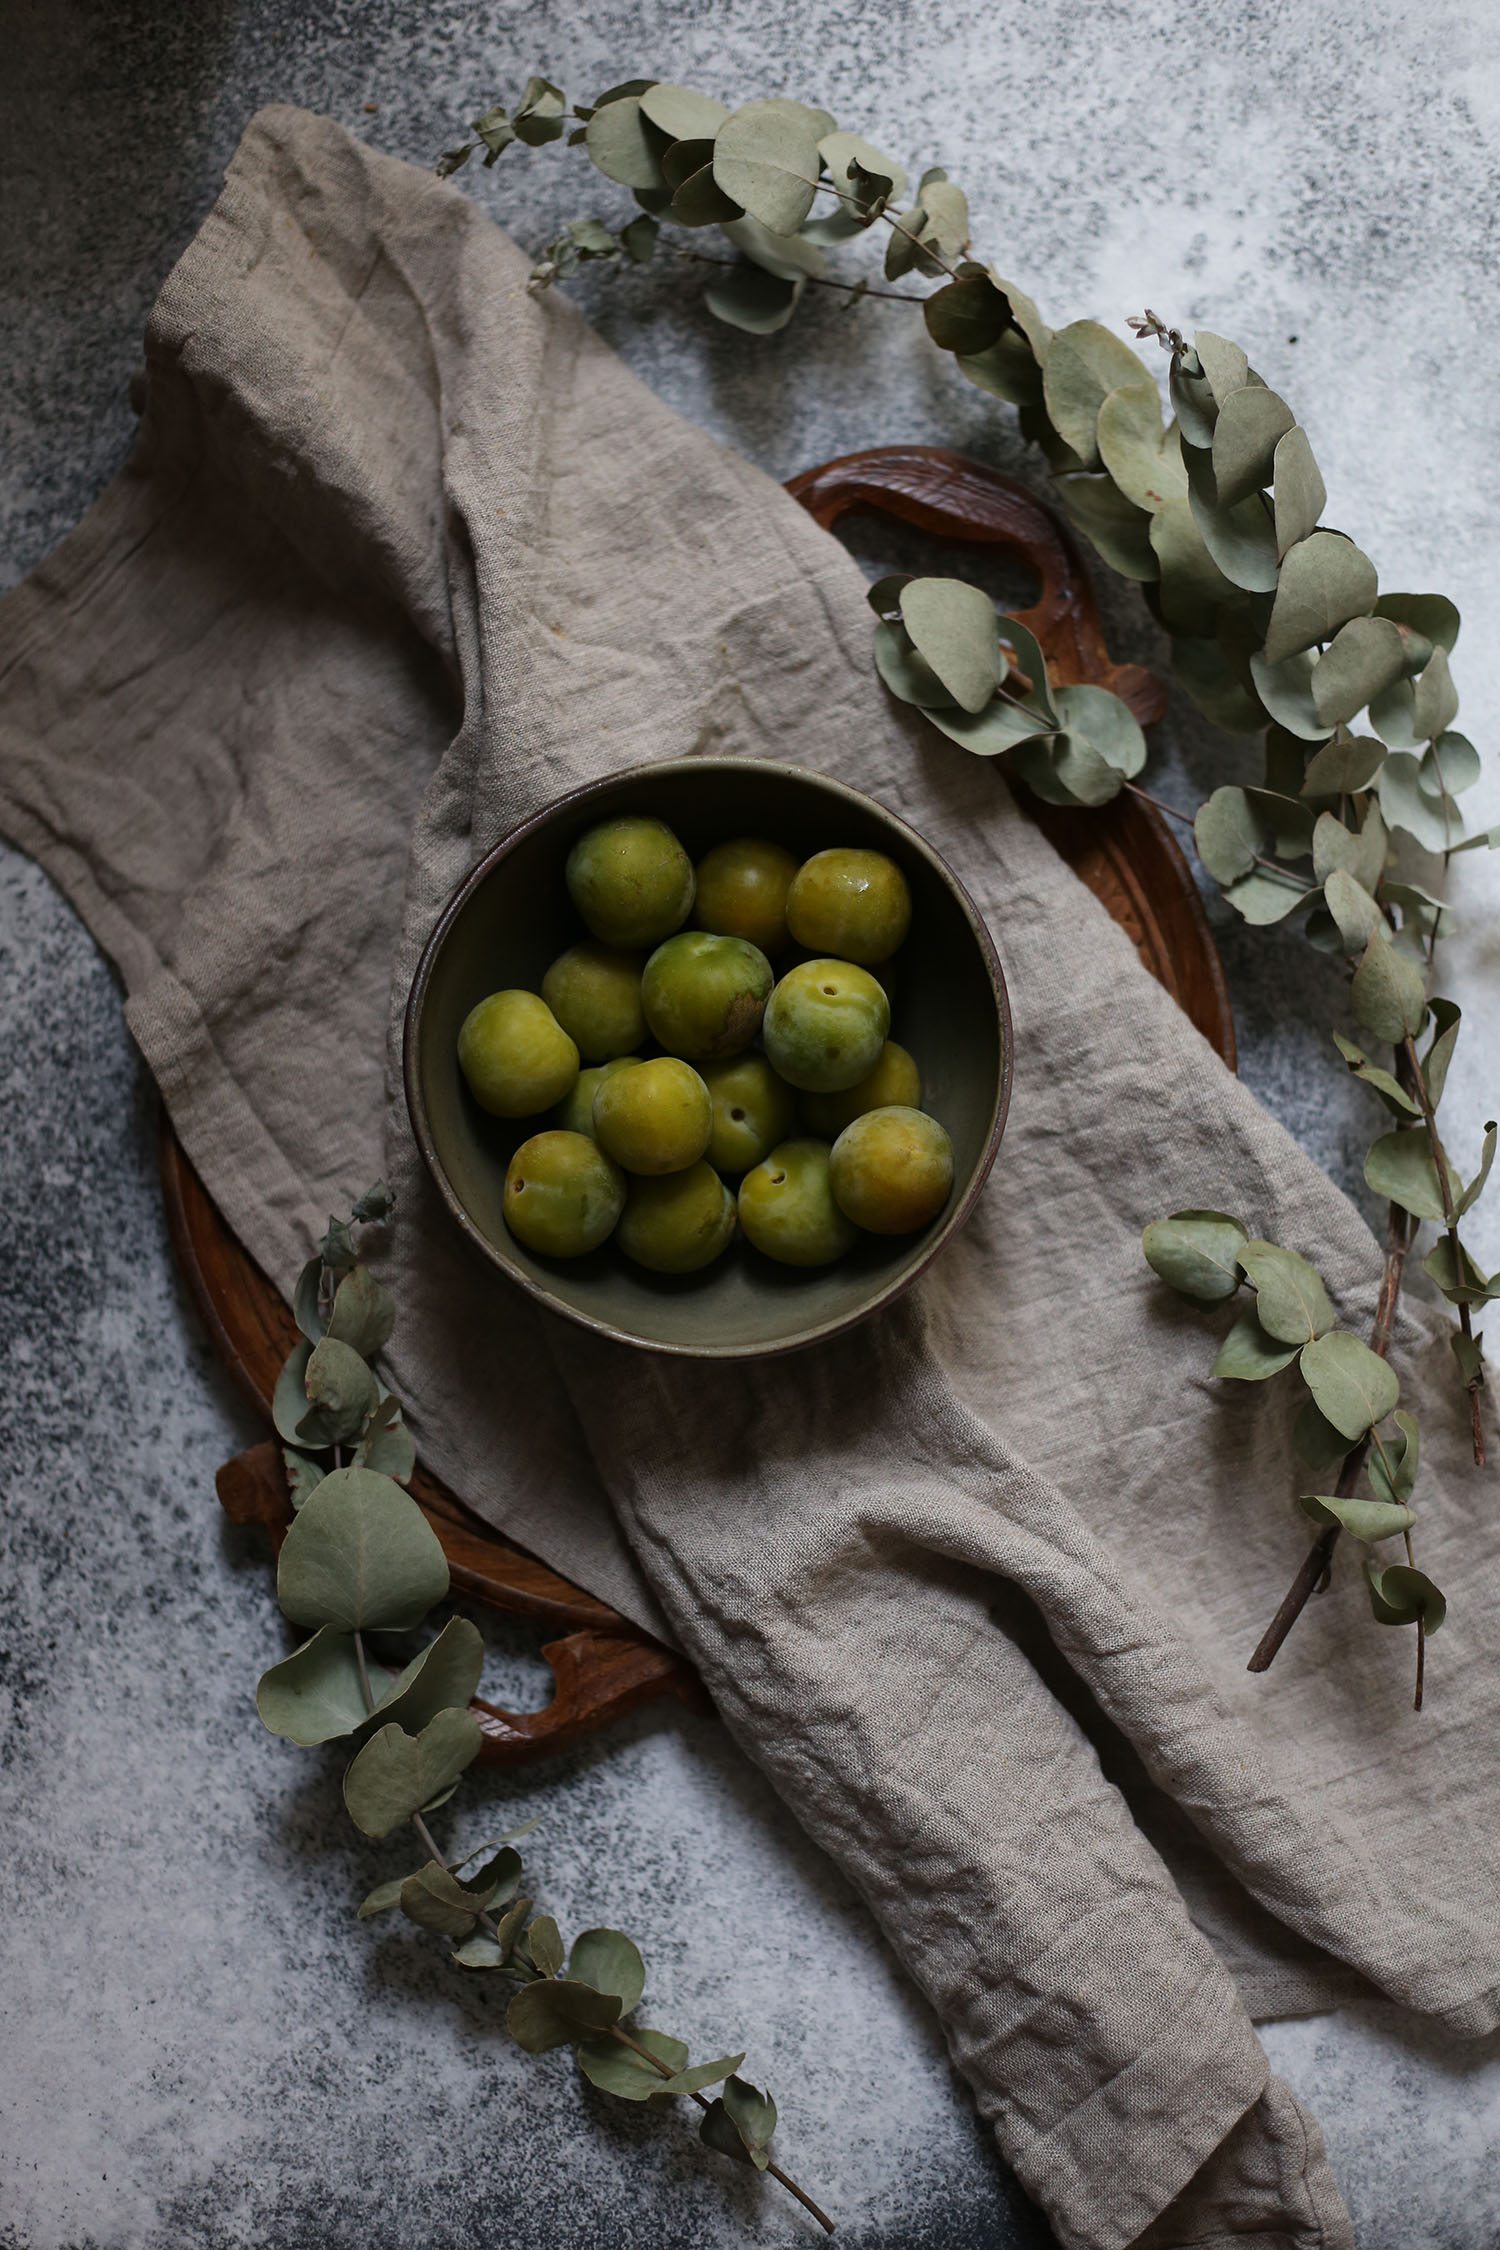
JPEG image
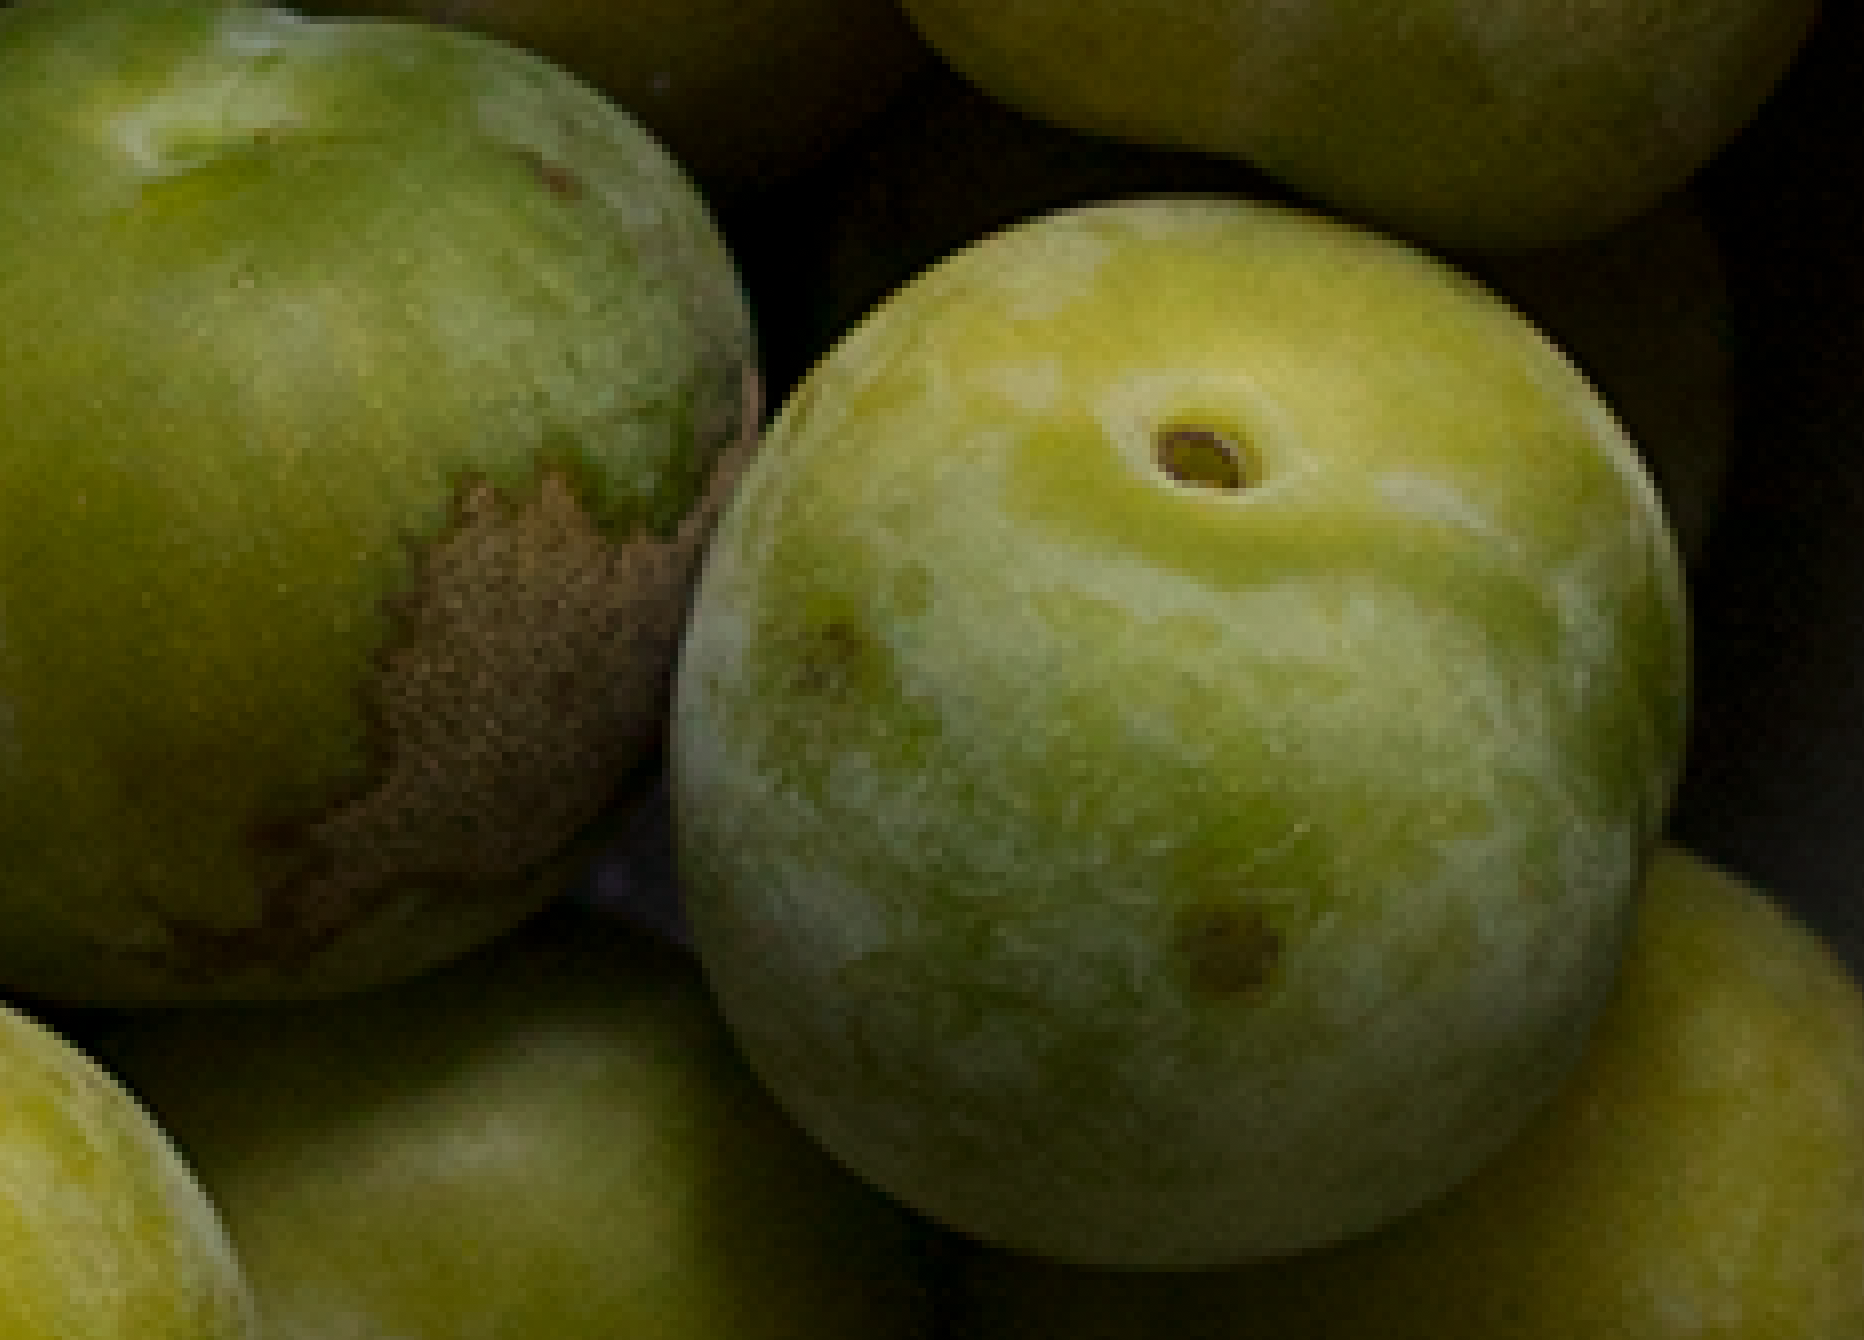
To properly see this loss of detail, I’ve zoomed in on the bowl and it’s contents. Compare the close up’s below.
The RAW shots, even when zoomed in, retain a lot more detail, whereas the JPEG shots are a little smoother, with an evident loss of detail.
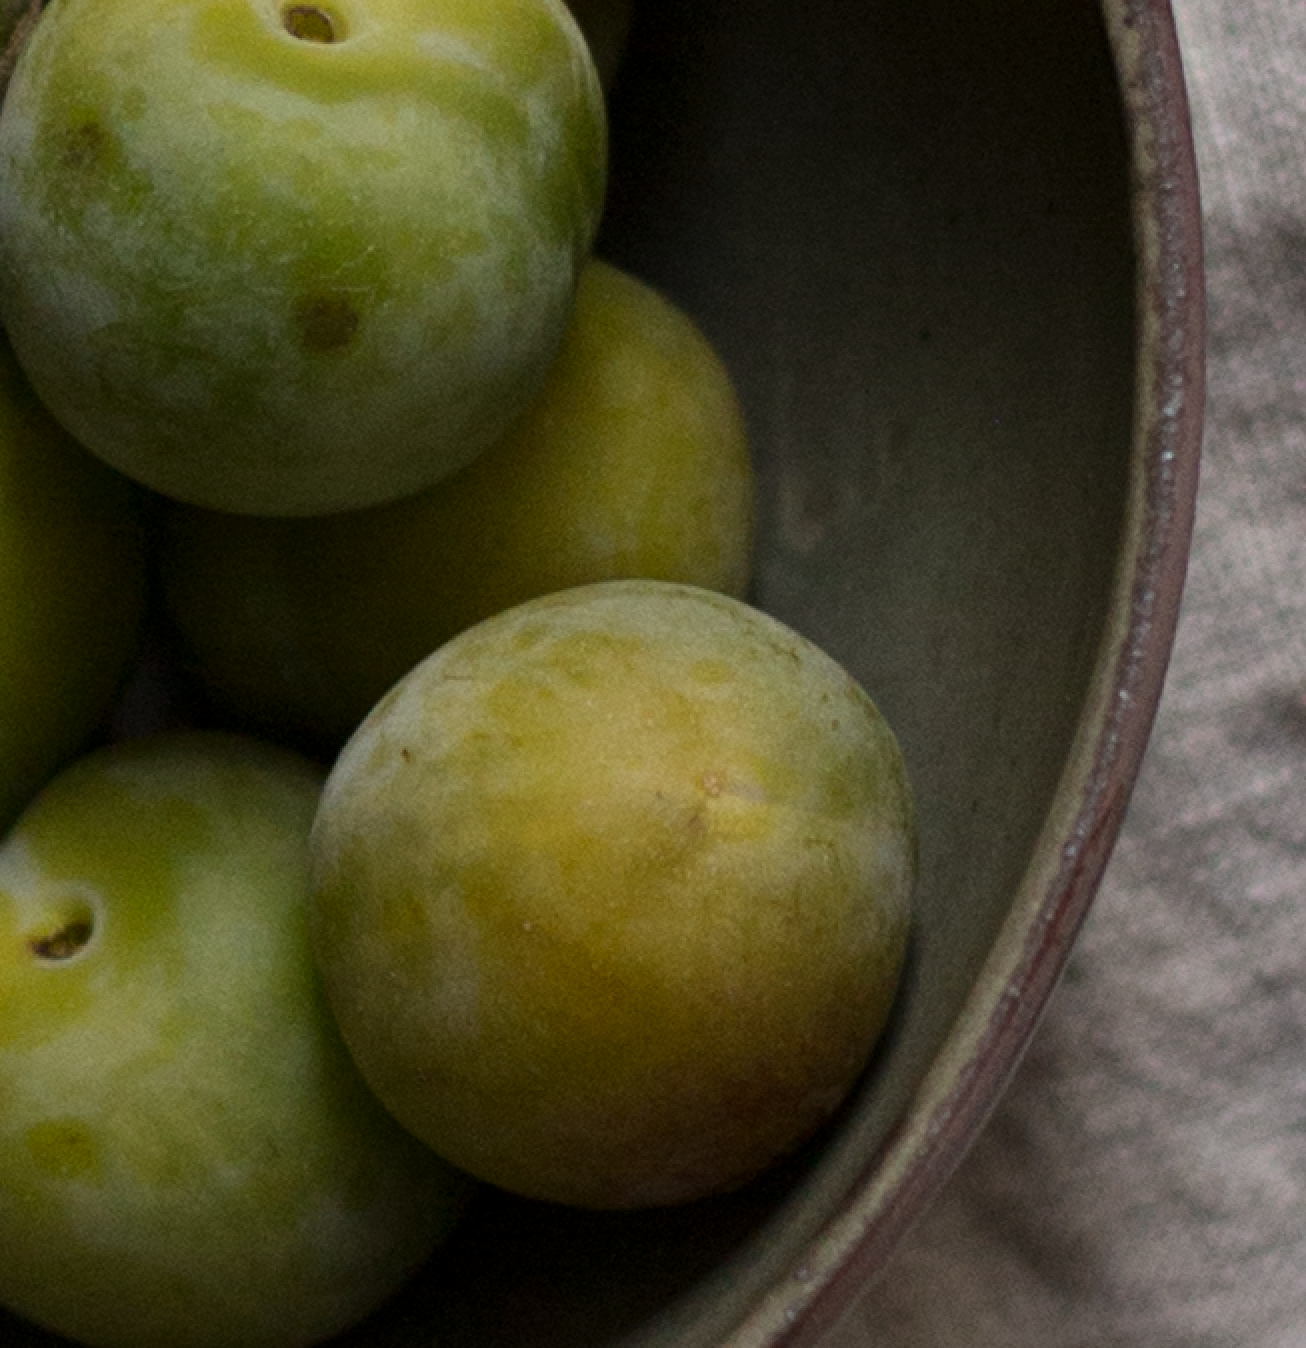
RAW image
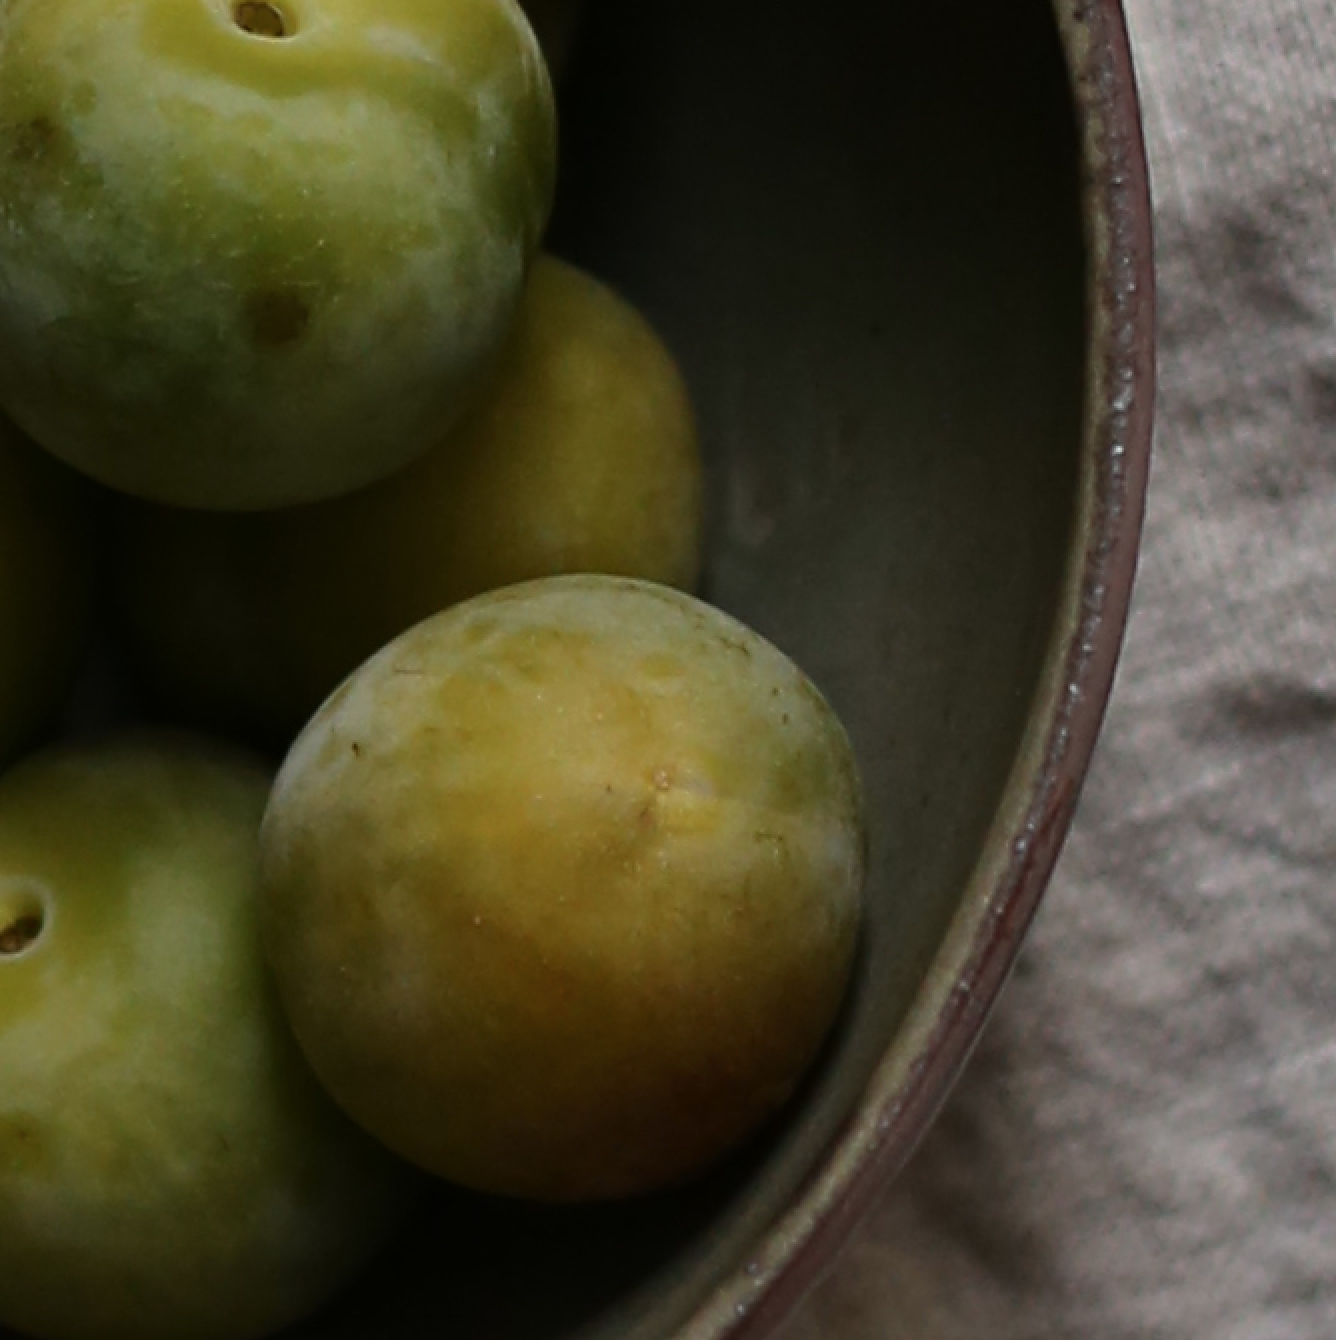
JPEG image
RAW image
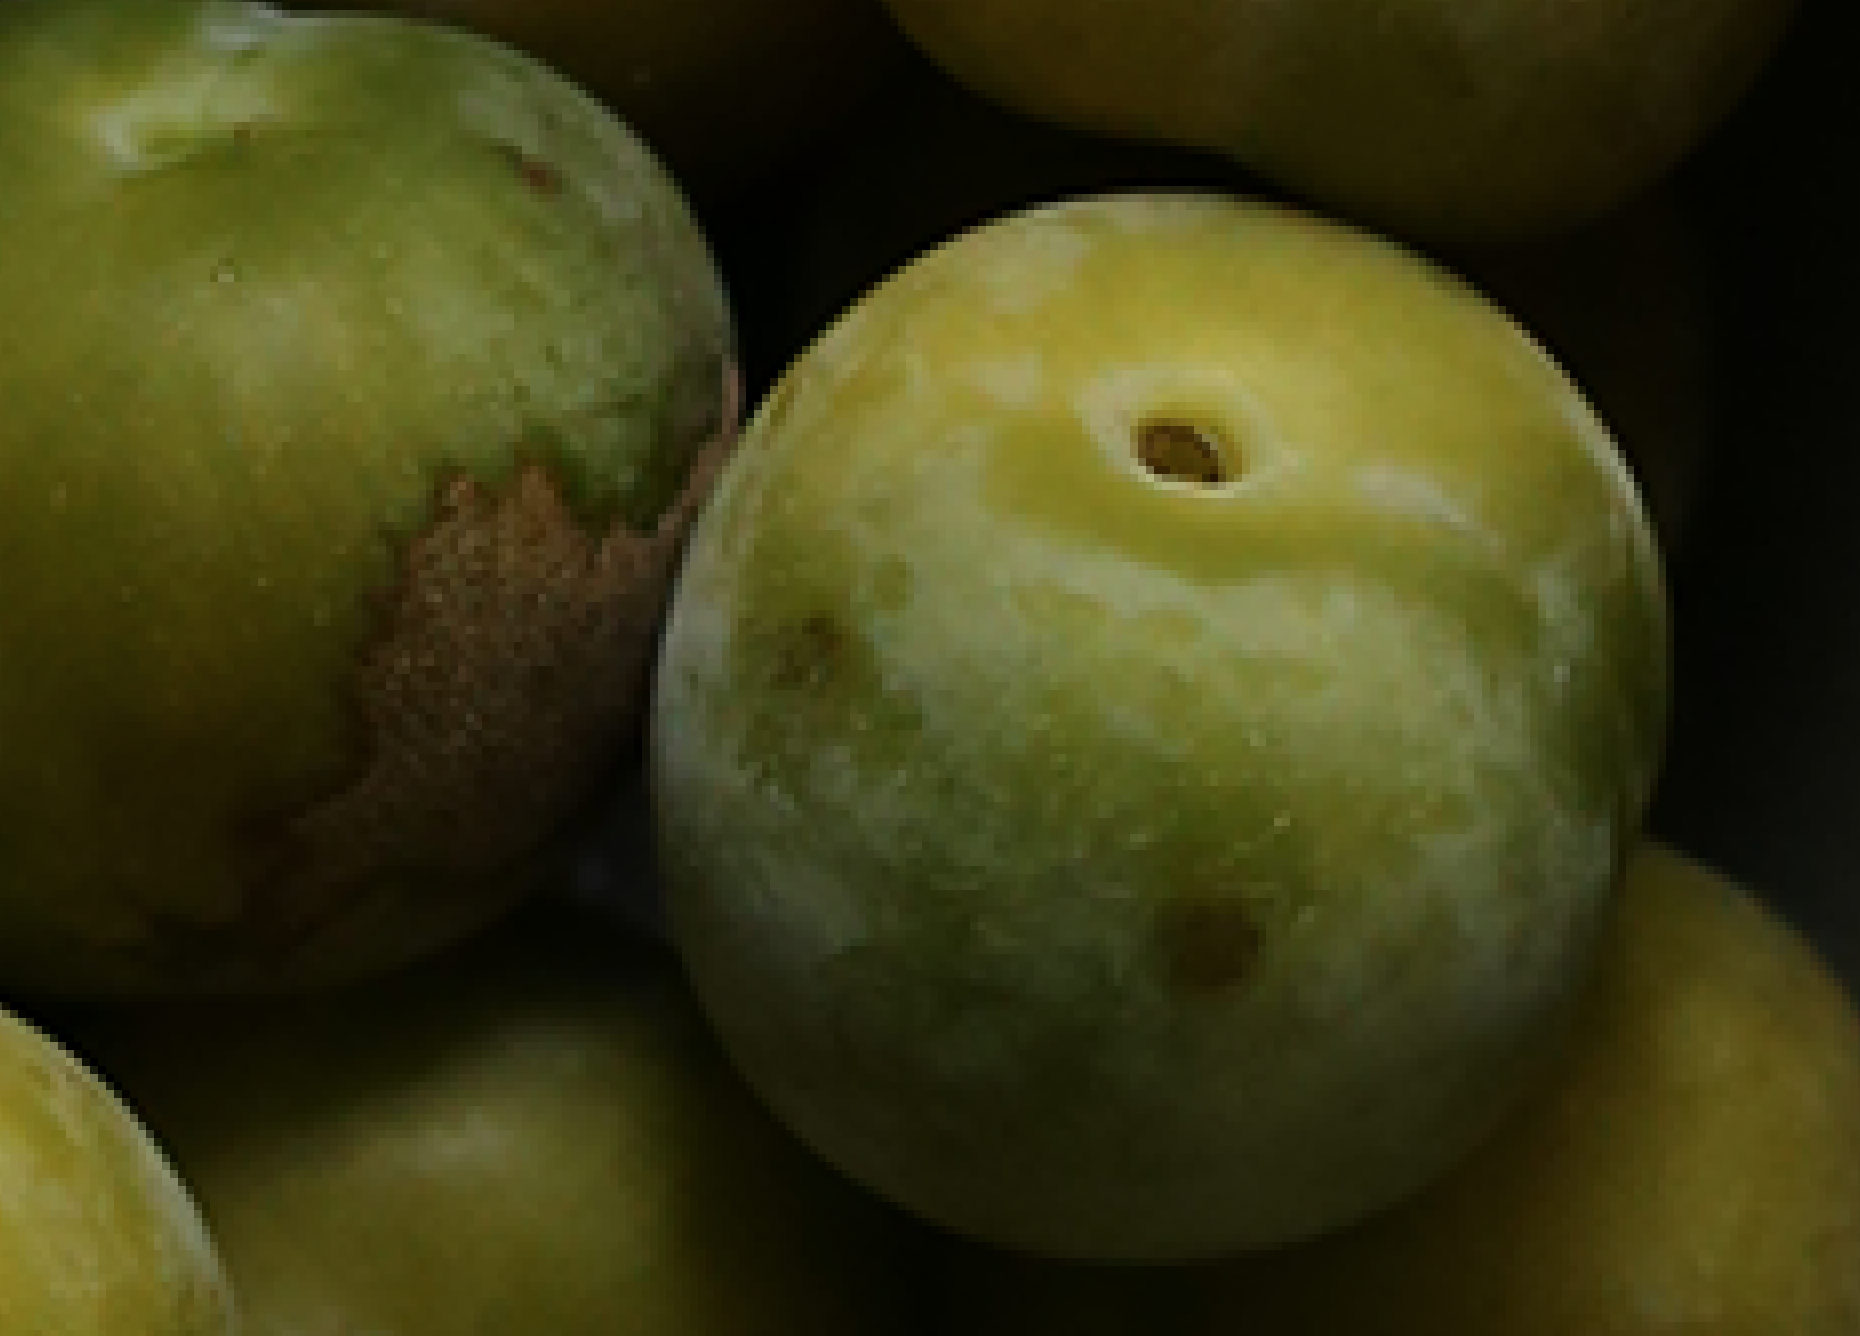
JPEG image
So – I want you to all grab your camera’s now and go into the settings, and set the file format to ‘RAW’ (if you’re not sure how to do this, you should be able to find instructions in your camera manual, or if you Google it with your camera make and model). If you still want the JPEG’s so that you can easily view them on your computer, most cameras will have the option to shoot in RAW and JPEG.
Even if you’re not at the stage where you’re using Lightroom (or any other software) to edit your images, I still recommend shooting in RAW, it will make your life a lot easier further down the track when you do start editing your images.
WANT MORE?
The Food Photography + Styling Guides are online, self-paced courses which teach you how to style, photograph and edit stunning images of your food in a series of easy-to-follow guides.
Sign up to for exclusive content and special offers